Richard Irvine
Richard Irvine is an author and Forest School practitioner. His book Forest Crafts is an excellent introduction to whittling. Read more about Richard and his books here.
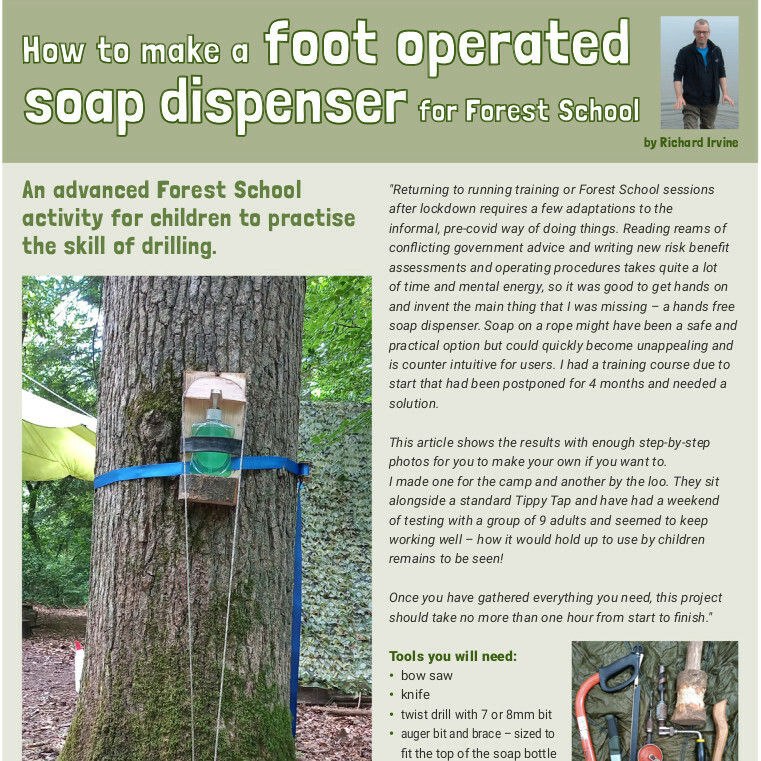
Read More about Richard IrvineStep-by-step instructions to build a practical soap dispenser to go with your Tippy Tap, creating an effective outdoor hand washing system - and it's fun to make!
This is an advanced activity for children to practise the skill of drilling.
Scroll down for a free pdf download of this activity.
Donated by author & outdoor learning expert Richard Irvine.
Tools:
Materials:
Richard Irvine

Consider the environmental impact of preparing, carrying out & completing this activity. Could this impact be reduced? Specific considerations for this activity could include:
Follow your usual operating procedures and carry out appropriate risk benefit assessments.
Some considerations particular to this activity include:
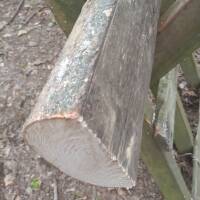
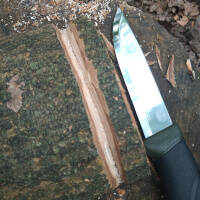
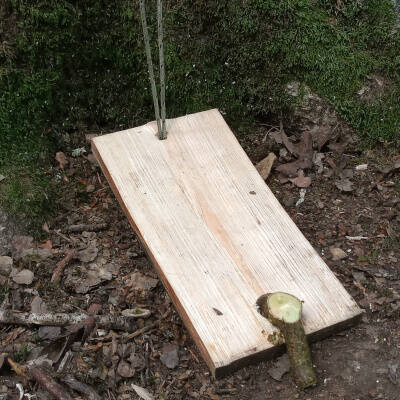
Split your length of wood through the centre.
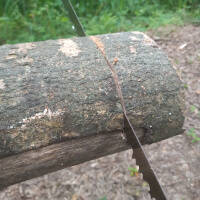
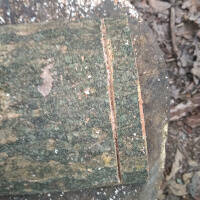
With the wood held securely in a sawhorse, saw a groove in the bark side about 5 or 6cm from the end. The groove should stop at least 2cm from the flat side of the wood.
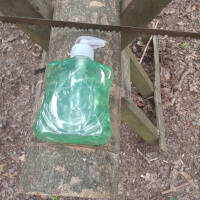
Place the bottle on the wood as shown to measure how tall the stand needs to be. Saw it off a few cms beyond the top of the pump handle when it is extended.
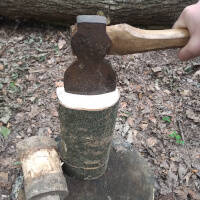
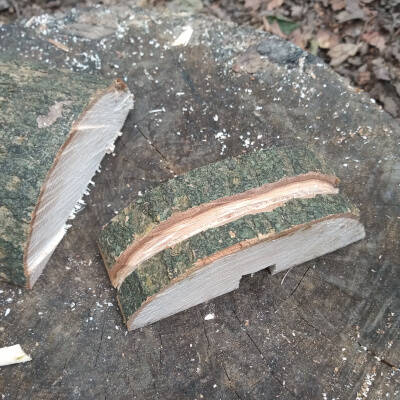
Place the wood upright on a stump and very carefully measure up where to cleave with your axe or froe.
The aim is to remove the section of wood above the groove leaving a backplate with an integrated shelf for the bottle to sit on. It will look like a high backed chair.
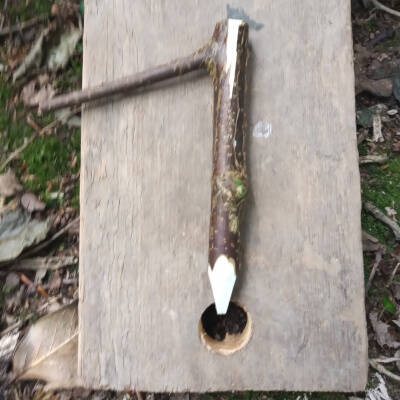
Use the offcut from cleaving to make the top block that will press on the pump handle.
Saw a groove a few mm deep, all the way around the bark side. This should be about 1cm from the end of the wood. Pay attention to holding this short length of wood safely while you saw.
Use your knife to carve a V shaped channel down to the base of the saw cut made in step 5.
Turn the wood over and drill a large hole using the bit and brace. This hole should have a diameter as wide as that of the pump handle. It should be a couple of cms deep but not go all the way through the wood
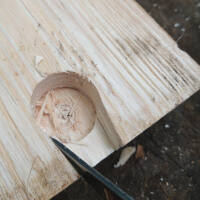
Use the knife to carve a tapered channel from the auger hole to the edge that will house the nozzle of the pump handle.
Turn the wood over and saw off the section that you have been working on. The gap from the back of the drilled hole to the back edge of the wood should be small enough to not touch the back piece of the stand when the device is assembled
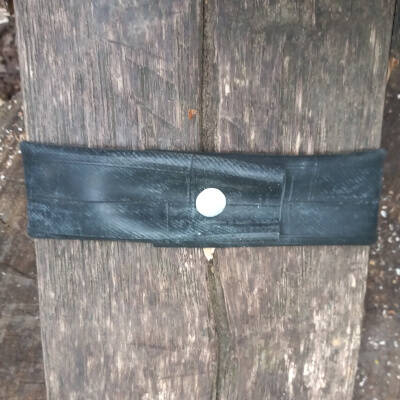
Cut a length of the bicycle inner tube long enough to wrap around the backplate with some overlap.
Wrap the tube around in a position where it will hold the soap bottle firmly against the backplate.
Attach it with a clout nail or two.
Check the length so that they don’t go through the backplate and puncture the soap bottle!
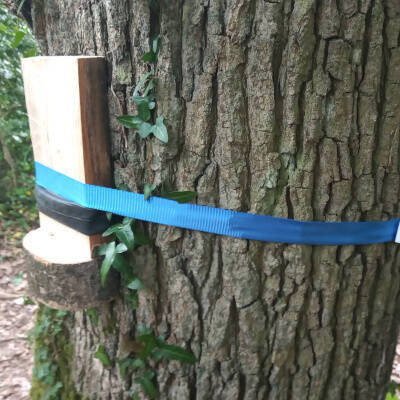
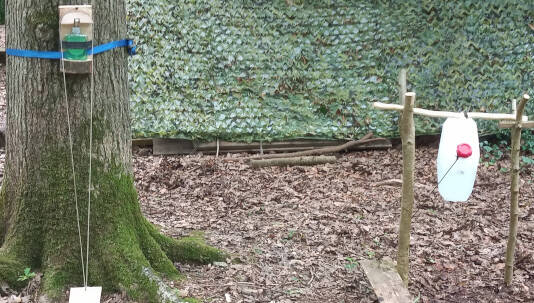
Choose a tree or post to attach the soap dispenser to. Place it at a comfortable height for users to place their hands.
Strap the backplate to the tree or post with an open ended ratchet strap (£4 each from Screwfix).
NB: If the dispenser is going to be in place for any length of time, use some form of bark protector underneath the strap. Mine will be removed every couple of days so there shouldn’t be any damage to the bark occurring.
Either split a plank from your leftover wood in step 1 or find a bit of scrap wood to make the foot pedal.
Cut to length (30cms-ish) and drill a large hole in one end and a smaller 8mm hole in the other end.

Cut a peg to hold the front of the pedal in place through the big hole.
Cut a length of paracord a bit longer than twice the height of the ground to the top of the pump block.
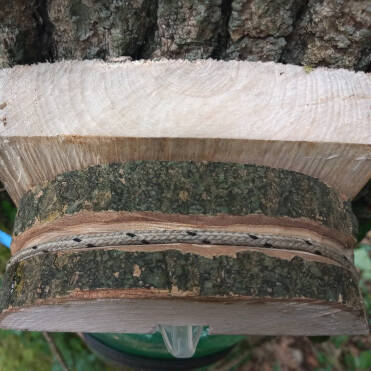
Find the middle and place it in the groove at the top of the pump block.
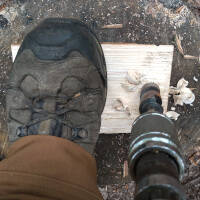
Thread both ends of the paracord through the small hole in the pedal board and adjust the length so that they hold the end of the board up enough to give one squirt of soap when the pedal is depressed.
Tie them in a double overhand knot under the hole. This can easily be adjusted and finely tuned to exert the right amount of pressure on the block.
Make sure that this small hole is directly underneath the shelf that the soap sits on, otherwise the top block will be pulled forward off the soap bottle.
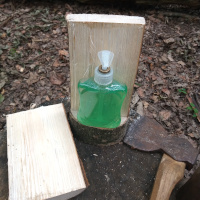
This stage takes a bit of testing and tweaking but hopefully will result in a functional woodland soap dispenser in the end.
This version of the instructions appeared in issue 2 of the Outdoor Practitioner - our free online magazine - Summer 2021.
Foot operated soap dispenser
Richard Irvine
Richard Irvine is an author and Forest School practitioner. His book Forest Crafts is an excellent introduction to whittling. Read more about Richard and his books here.
Read More about Richard Irvine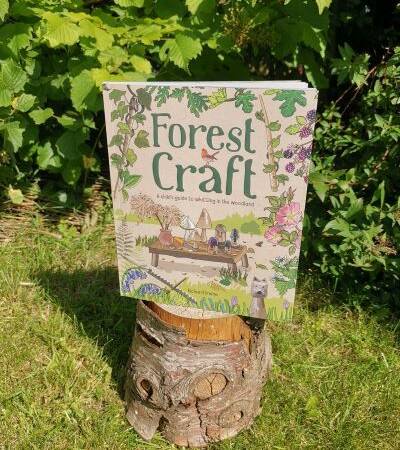
Appealing to both forest school teachers and families, this is a book that can be turned to time and time again, through the different seasons and over many years.
Disclaimer: Muddy Faces cannot take any responsibility for accidents or damage that occurs as a result of following this activity.You are responsible for making sure the activity is conducted safely.