Social Media

You can find me on the following social media platforms...

Muddy Faces

Simple split stick animal

An activity showing you how to whittle yourself a woodland creature, with help from author Richard Irvine

Tool use & Traditional Crafts

Introduction

"No glue, tape, wedges or joints are needed to make these little animals. Starting with a short length of straight hazel you can make a few simple cuts and splits then carefully bend the wood in different directions to make a one-piece dog, donkey, deer or dragon.

These creatures are deceptively simple but it takes a bit of practice to be able to choose a piece of wood that will work, as well as making the cuts just the right depth for fibres to bend and not snap.

I first made these about 10 years ago then, like so many of my projects, once I could make them well, I never made them again. For some reason last week I remembered making them and spent a while experimenting while I waited for a group to arrive in the woods. I have racked my brains and bookshelf but can’t remember the source of the project. If anyone knows a website or book containing these creatures, please let me know so that I can add a credit to this post."

Richard Irvine, September 2020


What you'll need

  • a straight, knot-free bit of hazel, approximately 1 cm in diameter and about 12 cm long (or other hardwood that is not too pithy)
  • a sharp knife

Richard Irvine

Useful items from our shop

Item available from our shop

Environmental Considerations

Consider the environmental impact of preparing, carrying out & completing this activity. Could this impact be reduced? Specific considerations for this activity could include:

  • source of wood

Health & Safety Considerations

Follow your usual operating procedures and carry out appropriate risk benefit assessments.
Some considerations particular to this activity include:

  • tool use

Richard Irvine has kindly donated this activity to the Outdoor Hub. His book Forest Craft, which contains many similar projects, is available from Muddy Faces. There’s more info and a link at the bottom.

To find out more about Richard Irvine look at our Author section.

You can also visit Richard Irvine Outdoor Living for more information on Richard & his courses.

Tool use & Traditional Crafts

Step #1

Make 2 shallow, v-shaped cuts in line with each other (parallel), about 4 cm from each end of the stick. These will be hinges for the legs.

If you cut too far through then the legs will just fall off.
If they are not deep enough then the stick will break rather than form a hinge.

Tool use & Traditional Crafts

Step #2

Turn the stick 180 degrees and make another shallow v-shaped cut directly opposite one of those on the other side of the stick. Make a second shallower cut nearer the head end.

These 2 cuts will be the hinges for the neck and head.

Tool use & Traditional Crafts

Step #3

Place the stick on its end and line the knife up across the pith between the v-cuts on either side.

Tool use & Traditional Crafts

Step #4

Gently tap the back of the knife to start a split. Lever the knife to open the split and grip the stick at the hinge to stop the split running further down through the body.

Bend the leg section out at the hinge and repeat at the other end of stick.

Tool use & Traditional Crafts

Step #5

Carefully use the tip of the knife to carve a short or long tail, as desired, at the tail end.

Tool use & Traditional Crafts

Step #6

At the head-end, carve a very shallow cut on the flat inner section, exactly behind the shallow cut on the round side of the wood.

Tool use & Traditional Crafts

Step #7

Use firm pressure with fingers and thumbs to bend the neck and head joints to form the desired shape.

You can also shape the head a bit here if you want.

Tool use & Traditional Crafts

Step #8

Turn the animal on to its back and gently tap the back of the tip of the knife carefully to split out 2 legs.

Repeat this for the other set of legs and gently bend the legs apart without breaking the fibres that hold them to the body.

Tool use & Traditional Crafts

Step #9

Finally, make 2 very controlled cuts just under the bark, towards the

back of the head, to raise 2 flaps of wood which will be the ears.

Tool use & Traditional Crafts

Step #10

Decide what you have made!

I wanted to make a deer but I think this one has a touch of the Irish Wolfhound about him.

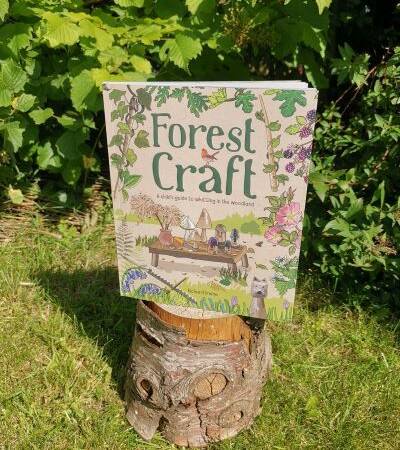
Forest Craft - Richard Irvine
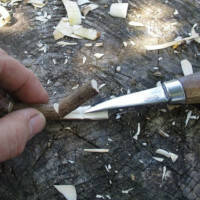
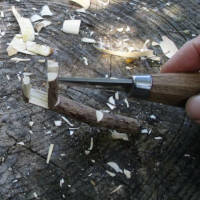
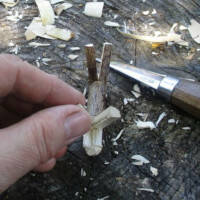
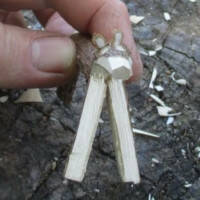
£16.99 exVAT

In today’s hectic world, many of us are looking for ways to slow down, take time out, and calm our busy minds. The benefits of doing this are well documented for overworked adults. However, there’s an increasing focus on how much children can gain from regular, quiet, meditative practice. An absorbing pastime like whittling in a peaceful woodland setting offers exactly that.

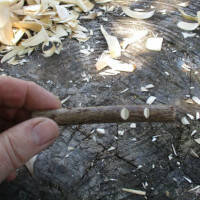
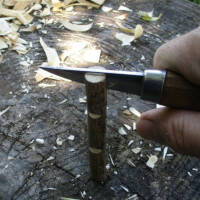
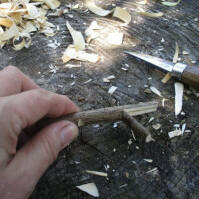
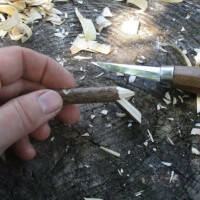
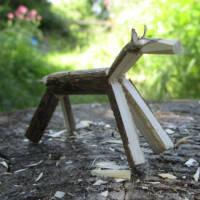
With an emphasis on safety and adult supervision, this book presents a range of simple and fun projects that children can make and enjoy hours of play with afterwards – projects such as a kazoo, mini furniture, duck call, whimmy diddle, rhythm sticks and elder wand.


Buy now

Other whittling & woodcraft books, recommended by Richard Irvine, available from Muddy Faces:

Swedish Carving Techniques by Wille Sundqvist
Woodland Craft
by Ben Law
Whittling Handbook
by Peter Benson
Whittling Twigs and Branches
by Chris Lubkeman

Disclaimer: Muddy Faces cannot take any responsibility for accidents or damage that occurs as a result of following this activity.You are responsible for making sure the activity is conducted safely.


Key Features

Newsletter

Keep in touch

Register to receive our free email newsletter, full of outdoor inspiration, dates, deals and competitions.