Needle felting - 3D
Learn how to needle felt a realistic looking pebble and then apply the technique to create anything!
Introduction
Needle felting a 3D piece is a very similar process to that of needle felting in 2D. In this activity we are going to create a felted pebble as an example piece.
What you'll need
- wool tops
- felting needles
- working pad – upholstery foam/stack of scourers/needle felting mat
For more information about felting resources look at our Felting – a guide activity.
This activity has been provided by
Useful items from our shop
- Felting Needle Tool
- Felting Needles 36 Gauge - Set of 10
- Felting Needle Mat
- Shetland Wool
- Mixed Felting Wool - Coloured
- Merino Wool Mixed - Autumn
Item available from our shop
Environmental Considerations
Consider the environmental impact of preparing, carrying out & completing this activity. Could this impact be reduced? Specific considerations for this activity could include:
- source of the felting wool
Health & Safety Considerations
Follow your usual operating procedures and carry out appropriate risk benefit assessments.
Some considerations particular to this activity include:
- storage of sharp needles
- using a sharp needle
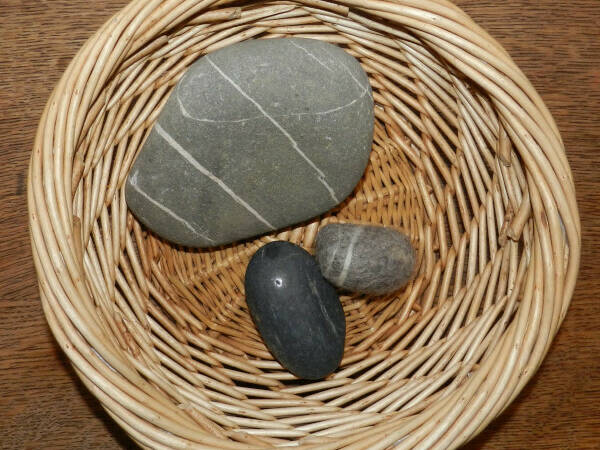
Step #1 Preparation
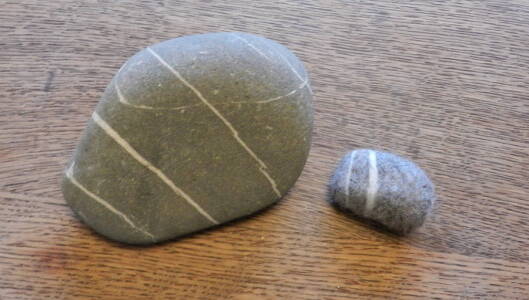
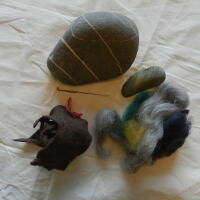
Find a few pebbles for shape and colour inspiration and choose your colours of wool tops.
Step #2 Creating a base shape
The base shape gives structure and shape to the final felt piece. You can create it in a number of different ways.
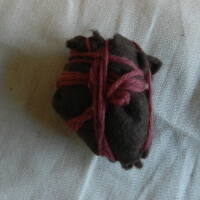
We used a folded up piece of scrap-manufactured felt wrapped in knitting wool. Alternatively, you can fold up some pieces of tops to roughly the shape you want, or use soft toy stuffing.
We found that the needle felting tool did not stab into the base layer of manufactured felt so we would advise using a single felting needle.
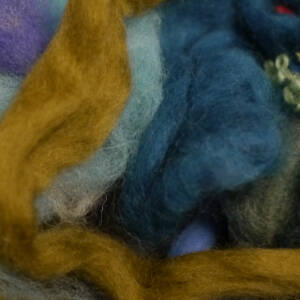
Step #3 Adding the coloured pieces of tops
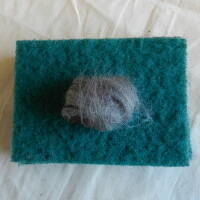
Working on a protected surface, wrap the small workable pieces of tops that you have pulled off (see felting guide) around your base shape.
Using the felting needle, stab the fibres into the base shape – hold your needle at the top and go in and out at the same angle to prevent bending of the needle. Work downwards towards the protected surface and always be aware of where your non-needling hand is!
Keep turning your piece so you are working evenly across the whole surface.
Keep adding more fibres to build up the shape and if you see areas that look a little thin; work them in with the felting needle.
Keep turning and stabbing until there are no loose fibres.

Step #4 Adding detail
If you want to add a vein of colour to your pebble then pull off a very thin piece of tops and wrap it around your pebble. Then using your needle, felt it into the pebble.
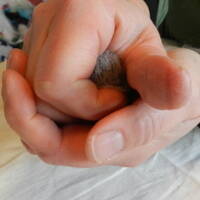
Step #5 Roll it
When all the fibres seem felted into place you can roll the pebble in your hands to shape and to finish the felting process.
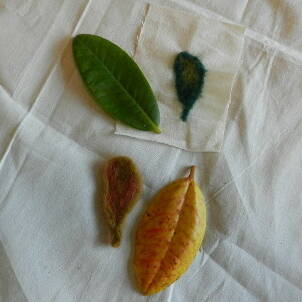
Take it further:
- now that you have made the pebble you can use the same technique to make whatever you like! A little pumpkin or a bee perhaps?
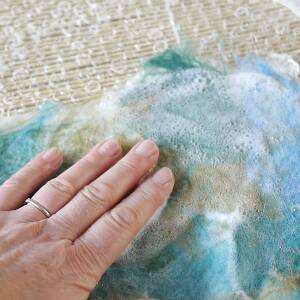
- have a go at wet felting or try 2D needle felting.


Disclaimer: Muddy Faces cannot take any responsibility for accidents or damage that occurs as a result of following this activity.You are responsible for making sure the activity is conducted safely.
You might also like
Key Features
- Age Range All Ages
- Duration Less than an hour
- Location Anywhere
- Season Any
- Time of Day Anytime
-
Categories:
Art & Creating
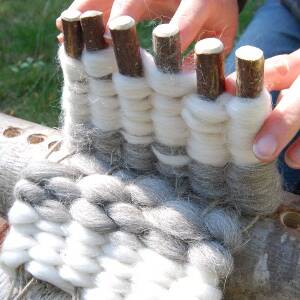
weaving & wool
Tool use & Traditional Crafts
felting