Disc creatures
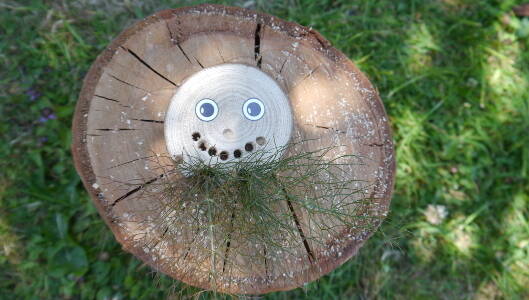
An activity using natural materials and a palm drill to create magical creatures!
Introduction
This is a brilliant creative activity for children to master the art of using the palm drill. Take a look at our Guide to palm drills and Drilling a wooden disc for detailed information about palm drills and using them. A technical follow on from the Pebble Creature activity for the older child.
All you need is a palm drill, a log round, a selection of wooden discs, natural materials and some eye stickers or pens to make the magical transformation from disc to creature!
* Muddy Faces actively promotes child-led outdoor play & learning (see the intro to our Outdoor Play section for more on this). We recognise and believe in the curiosity that children have and their drive to explore and discover. We hope that you will bear this in mind when considering more prescribed activities like this one – often much more creative ideas will occur if resources are simply provided and children are given the time and space to explore independently.
What you'll need
- wooden discs
- palm drill
- selection of natural materials
- eye stickers/non-toxic water based pigment
This activity has been provided by

Environmental Considerations
Consider the environmental impact of preparing, carrying out & completing this activity. Could this impact be reduced? Specific considerations for this activity could include:
- source of wood
- leave no trace
- use non- toxic water based pigment as alternative to stickers
Health & Safety Considerations
Follow your usual operating procedures and carry out appropriate risk benefit assessments.
Some considerations particular to this activity include:
- tool use
- collecting natural materials
Step #1
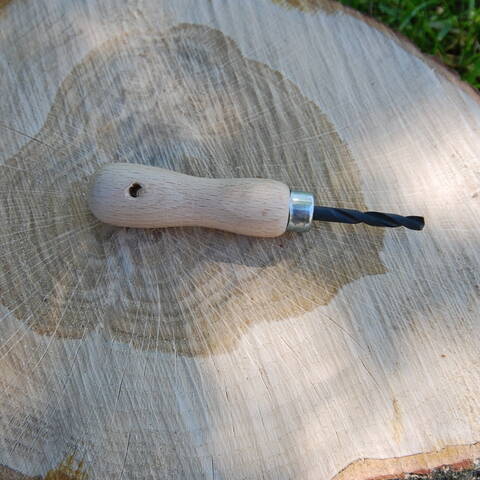
Find a hard surface that can’t be damaged to lean on/drill into.
We’ve included a link to our log boards (above), which could be used for this purpose.
Step #2
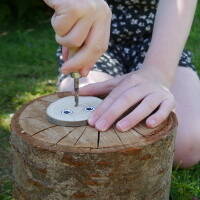
Have a practise first on the log round or on a disc.
To use the drill, hold the wooden handle in the dominant hand and position the drill bit in the place you want to make an indentation or hole at right angles to the disc.
Turn in a clockwise direction whilst applying a gentle downward pressure. You may need to apply more pressure to get started.
A palm drill will drill a hole with a circumference of approximately 5 mm.
Step #3
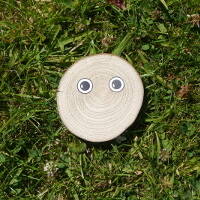
Once you have got the hang of making the holes you can begin transforming your disc!
Add the eyes first.
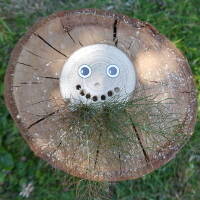
You can use the natural features of the disc like the grain/rings for facial features – the smallest ring on this disc looks like a nose.
Step #4
Next, think about what natural materials you want to add to your disc to create arms, legs, hair, tail etc. and where you want to put them. Start to drill the holes and add your own creature features.
Experiment with the creature features and attach them by pushing through, if it holds into position, or use tape on the back.
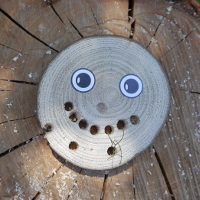
The drilling can be quite addictive so you might create a spider or a very holey creature!
Note on drilling:
Take care when drilling close to the edge of the disc as the edge of the disc is delicate and may split as can be seen in this picture.
Disclaimer: Muddy Faces cannot take any responsibility for accidents or damage that occurs as a result of following this activity.You are responsible for making sure the activity is conducted safely.
Key Features
- Age Range 6+
- Duration Less than an hour
- Location Anywhere
- Season Any
- Time of Day Daylight
-
Categories:
Art & Creating
Tool use & Traditional Crafts
palm drills & rotary hand drills
