Wooden stamps
Hammering into wood - create imprints & practise tool skills. Great idea and activity for the early years woodworking area.
Introduction
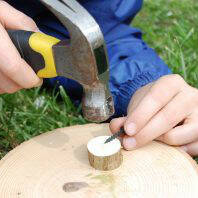
This is a great activity for children to get the feel of how a hammer works, and to assess risk - making sure their fingers are at a safe distance from the impact area.
We use stumpy hammers because children can find full-sized ones difficult to control.
* Muddy Faces actively promotes child-led outdoor play & learning. We recognise and believe in the curiosity that children have and their drive to explore and discover. We hope that you will bear this in mind when considering more prescribed activities like this one - often much more creative ideas will occur if resources are simply provided and children are given the time and space to explore independently.
What you'll need
- hammer
- saw
- log boards/counters
- assortment of screws, nails, nuts, bolts, eyelet rivets etc. to make imprints
This activity has been provided by
Useful items from our shop
- Claw Hammer - 8oz Stubby
- Eyelets (4mm) - Pack of 100
- Round Head Nails
- Pozi Screws - Box of 200
- Wooden Counters
Environmental Considerations
Consider the environmental impact of preparing, carrying out & completing this activity. Could this impact be reduced? Specific considerations for this activity could include:
- source of wood
Health & Safety Considerations
Follow your usual operating procedures and carry out appropriate risk benefit assessments.
Some considerations particular to this activity include:
- tool use
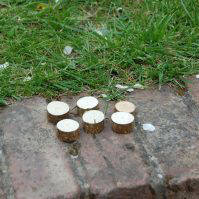
Step #1 Preparation
Cut wooden counters or short poles. Take a look at our sawing activities to help with this.
Alternatively you can buy wooden counters from the Muddy Faces shop.
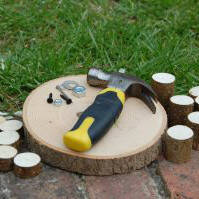
Step #2 collecting
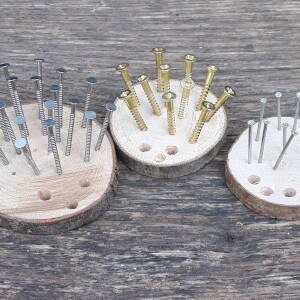
Collect some hard items that can be used to make imprints in the wood.
Items need to be hard and it is likely that they will become misshapen once hammered so avoid anything of value.
We used screws, nails, bolts, washers and a couple of eyelet rivets.
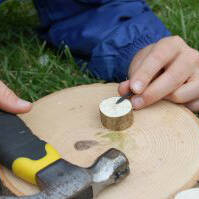
Step #3
Place the wooden counter on a firm hard base.
Place the item you want to do an imprint of onto the counter.
Step #4
Hit the object firmly with the hammer.
This is a great way for individuals to get the feel of how a hammer works and to work out if their fingers are at a safe distance from the impact area.
Top Tip:
Periodically check how far you are hammering the object in – if you hammer it too much the item may get stuck, making it difficult to remove.
Step #5
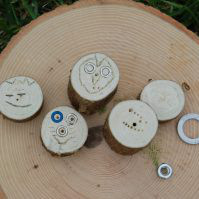
Some items we hammered in intentionally to get stuck – the eyelets were great for this.
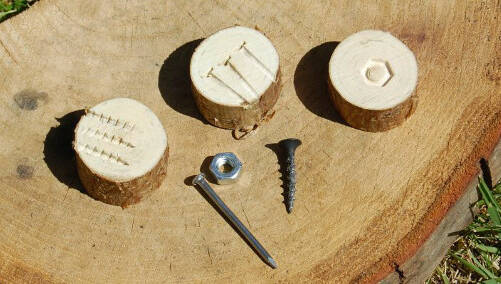
Examples
Some examples of different objects we used and the imprints they make.
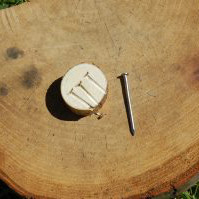
Nail imprint
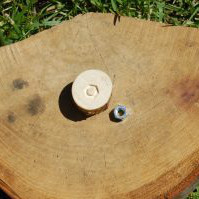
Bolt imprint
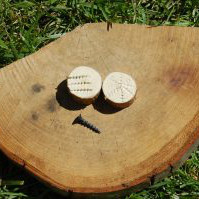
Screw imprint
TAKE IT FURTHER:
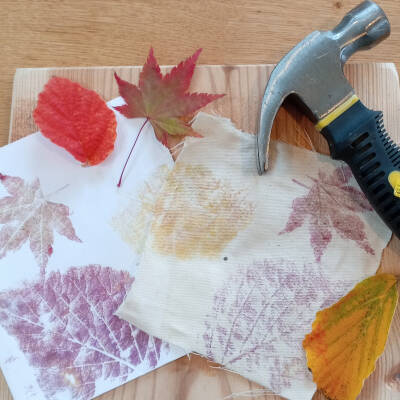
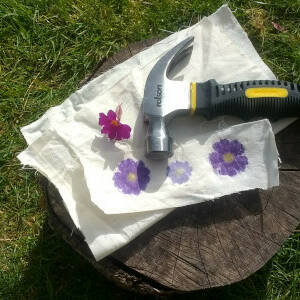
- try stamping into paint, clay or Plasticine – how hard do you have to hammer? What happens to the different materials?
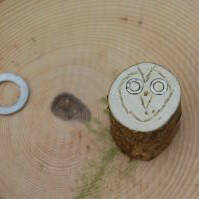
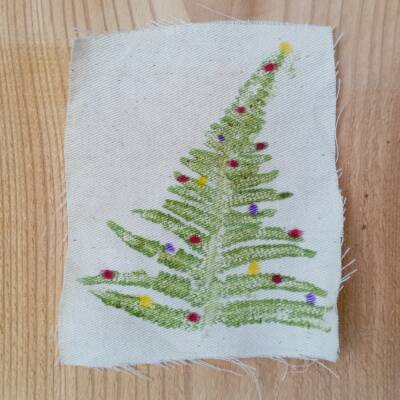
- try using objects to create a face or other image
- try making imprints of all sorts of different objects.
Disclaimer: Muddy Faces cannot take any responsibility for accidents or damage that occurs as a result of following this activity.You are responsible for making sure the activity is conducted safely.
You might also like
Key Features
- Age Range 3+
- Duration Less than an hour
- Location Anywhere
- Season Any
-
Categories:
Art & Creating
wooden discs
with tools
Tool use & Traditional Crafts
hammers