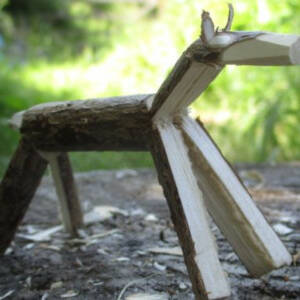
Whittle your own hazel knife
Carve a wooden knife in a few minutes!
Introduction
In a pinch at snack time in the woods? Need to peel some bark or just fancy a quick whittle to take your mind off things? Try making this simple knife with these instructions.
PLUS - video of the whole process at the bottom of this activity.
Thanks to Tim Graham of Snapdragons Forest for this activity.
What you'll need
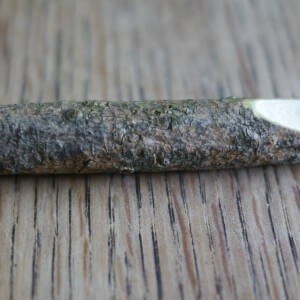
- length of round wood/branch 20cm long & 2cm diameter
- sharp knife
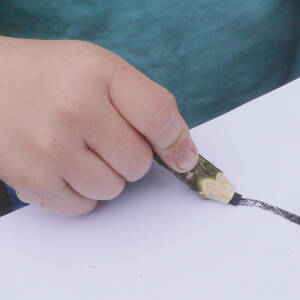
- pencil
Tim Graham of Snapdragons Nursery

Environmental Considerations
Consider the environmental impact of preparing, carrying out & completing this activity. Could this impact be reduced? Specific considerations for this activity could include:
- source of wood
- leave no trace
Health & Safety Considerations
Follow your usual operating procedures and carry out appropriate risk benefit assessments.
Some considerations particular to this activity include:
- tool use
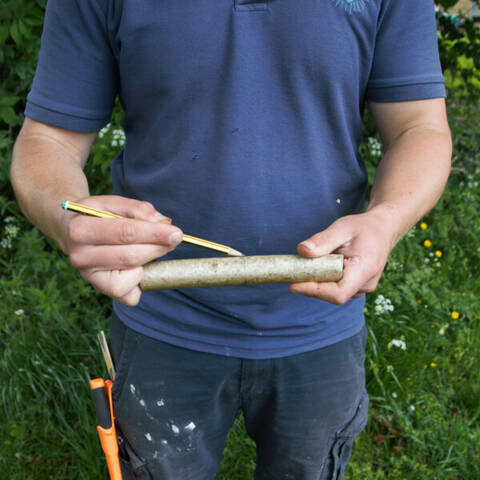
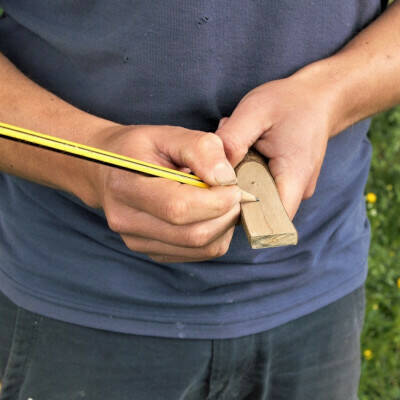
Step #1
Draw a line around the circumference of the wood around halfway along its length. Decide which half will be your blade and which will be your handle.
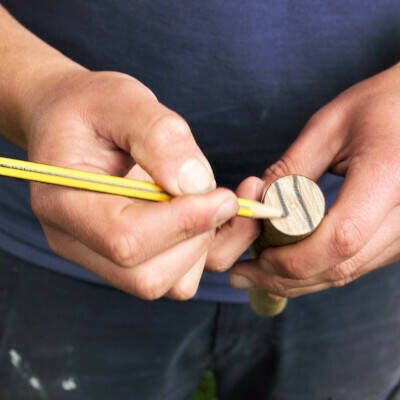
Step #2
Draw two parallel lines either side of the pith at the blade end. Make sure you can see them clearly.
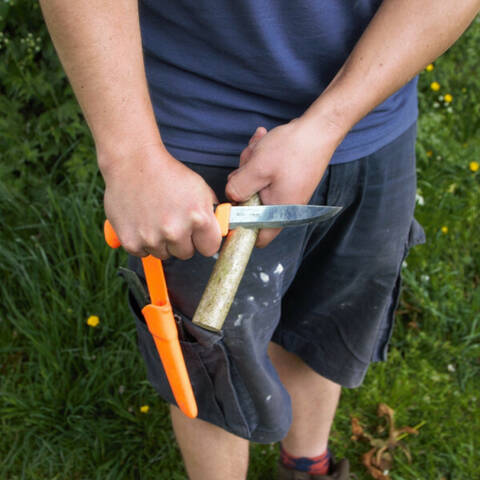
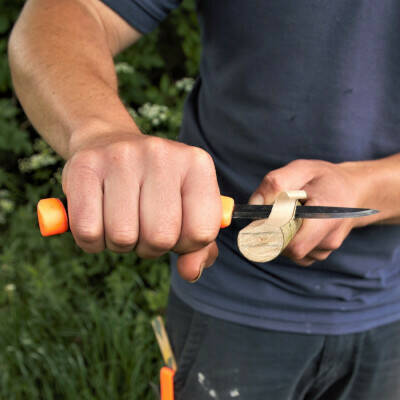
Step #3 The push cut
Keep your elbows locked into your sides to focus all the force along the wood. Starting from the heel of the blade and slicing across the wood, push the blade away from you to make the cut.
Step #4
Carefully cut down the length of the blade to the parallel lines. Work at angles rather than trying to do the whole section in one go.
Step #5
Mark a line the length of the blade about 1/3 to half way across on both sides. This will be the cutting bevel.
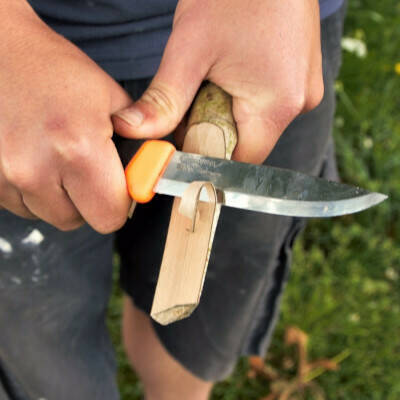
Step #6 The thumb push cut
Bring your non-cutting hand up to the back of the knife blade and rest your thumb at the top of the handle. Using just your thumb to push the blade make a cut as far as your non cutting hand can push.
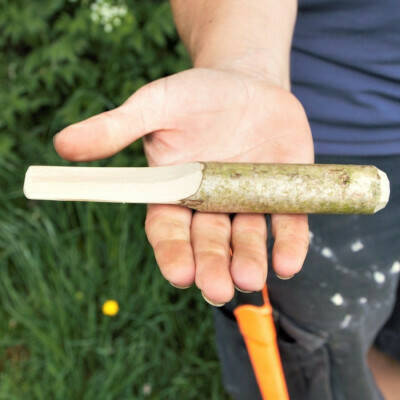
Step #7
Using the push and thumb push cuts make a bevel on the blade by gently cutting the wood so that it meets at a point. Use the thumb push cut to define the transition from the handle into the blade.
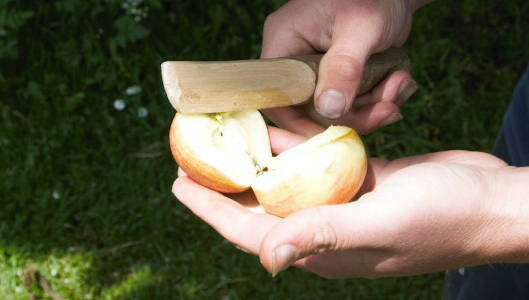
Take it Further:
Add any decoration you like by rounding the end, thinning the handle or just get to using it spreading, cutting fruit or peeling bark: what else can you think of?


Watch Tim make the knife in under 2 minutes!
Disclaimer: Muddy Faces cannot take any responsibility for accidents or damage that occurs as a result of following this activity.You are responsible for making sure the activity is conducted safely.
You might also like
Key Features
- Age Range 6+
- Duration Less than an hour
- Location Anywhere
- Season Any
-
Categories:
Tool use & Traditional Crafts
Activity Downloads