Campfire bread
Campfire bread on a stick
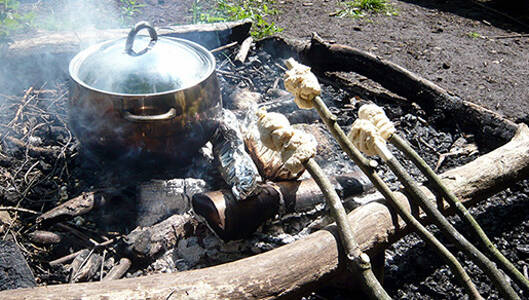
Freshly baked bread smells even better on a campfire! Here’s a quick unleavened (non yeast) recipe to try.
Introduction
This quick campfire bread recipe is great if you don’t have time to prepare the yeast to make a full bread dough. The ingredients are easy to source and it is very quick to prepare.
Other campfire breads worth investigating are:
Bannock bread - originates from Scotland/Ireland and northern England. Traditionally made with oatmeal dough and cooked on a bannock stone (flat piece of sandstone) that was placed in the fire.
Damper bread - traditionally eaten in Australia by stockmen/travellers and cooked in the ashes of the fire or in a camp oven.
What you'll need
- fire ready for cooking
- long greenwood stick *
- bowl and spoon
- ingedients for dough
- handwashing facilities
This activity has been provided by

Useful items from our shop
- Stainless Steel Bowl
- Rustic Den Pole - 110cm
- Netherton Griddle & Baking Plate
- Rectangular Seal Tight Tub - 700ml
- Easi-Carry Handwash Set
- Twist Bread Stick
Environmental Considerations
Consider the environmental impact of preparing, carrying out & completing this activity. Could this impact be reduced? Specific considerations for this activity could include:
- sourcing of fire wood
- sourcing green wood for toasting sticks
Health & Safety Considerations
Follow your usual operating procedures and carry out appropriate risk benefit assessments.
Some considerations particular to this activity include:
- fire safety – see our fire safety guide
- hot food – risk of burning mouth
- hand washing
- food allergies/intolerances
Notes:
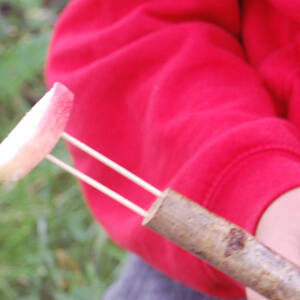
* tubes such as bamboo or a metal tube on the end of a wooden stick allow the bread to bake from the inside out
Ingredients:
Makes approximately 10-15 small (thin sticks) or 5-10 large (thicker sticks)
- 300g (2 cups) self raising flour
- 200ml (1 cup ish) milk (or enough to bind into dough)
- ½ tsp salt
- 75g (2 tbsp) butter (optional)
- 1-2 tsp sugar (optional)
- flavourings of your choice – herbs, spices, cheese etc (optional)
Special dietary needs:
Gluten free - try a mix of 3/4 rice and 1/4 gram flour or other gluten free flour (you might need to experiment a bit and use a binder such as egg)
Dairy free - substitute butter for plant based oil and use water instead of milk
Step #1 Make the mix
Mix the flour, salt and sugar in a large bowl.
If using butter – rub into the flour mix until it resembles a fine crumble.
Step #2 Add flavourings
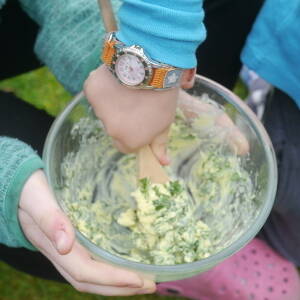
Add any additional ingredients – here are a few ideas: oregano, rosemary, thyme, toasted garlic, cajun spice, garlic powder, cinnamon, nutmeg, a handful of cheese.
A Muddy Faces favourite is cheese and wild garlic.
Step #3 Add wet ingredients
Add the liquid a little at a time and stir the mixture. Eventually it will form a soft, slightly sticky dough.
Knead the dough for a short time in the bowl (if it is too sticky add a bit more flour).
The final consistency should be slightly softer than playdough.
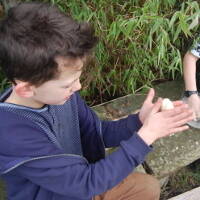
Step #4 Wrap your stick
Tear off golf ball-sized pieces and roll into a sausage.
Squidge these onto a stick, wrapping the top back around onto itself to make it hold firm. Then twist the dough down the stick and wrap at the bottom to secure again.
Step #5 Cook
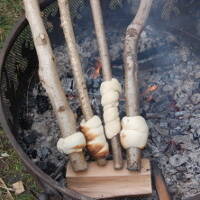
It is important that the fire has died down before starting to cook (flames will quickly blacken the outside). A medium-sized fire that has died down with plenty of hot embers is ideal.
Hold the dough over the embers (not too close) and regularly turn the stick. If you want the bread to be nicely baked then patience is required. If the dough is put too close to the heat the outside browns but the inside remains doughy.
Time taken to bake will be dependent on a number of factors such as the thickness of the dough, but allow around 15- 20 mins to bake.
Tip:
Cooking can seem like a long time to wait for some children/groups and often they get tempted to move their bread closer to the heat to speed the process up.
If you prepare a stand that can be used to hold the bread at the correct distance above the embers, then the sticks can be left and other jobs/activities can be done while they are cooking slowly (we’re using a log in the image above).
It is important that at least one person stays to keep an eye on them in case the embers flare up or die down and are not emitting enough heat. Encourage the children/group to return roughly every five minutes to turn the sticks to ensure even cooking.
Serving suggestions:
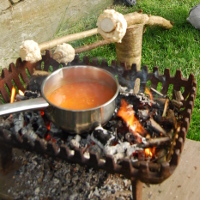
Eat warm with butter or make your own wild garlic butter and dip in your campfire vegetable soup. Yum Yum!
Take it further:
- dip them in wild garlic butter!
- using the correct sized sticks, if you slide the bread carefully off the stick you can insert a sausage
- after cooking the bread, place it in some foil with some grated cheese and wrap it up and bake to melt the cheese!
- try cooking small, flat pieces of the dough in a pan on the fire.
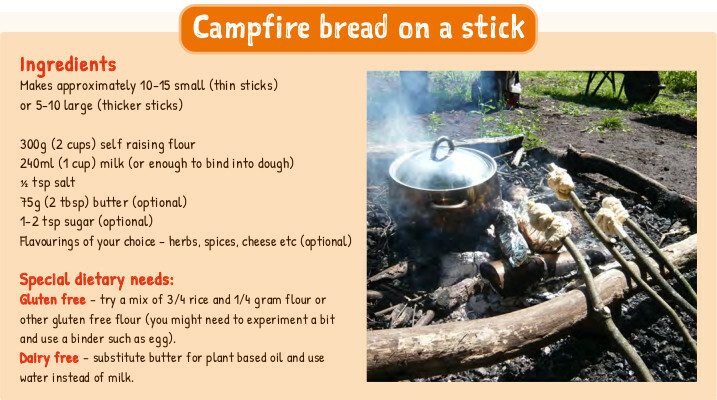
Campfire bread on a stick - free pdf download
This version of the recipe appeared in issue 1 of the Outdoor Practitioner - our free online magazine - Spring 2021.
Disclaimer: Muddy Faces cannot take any responsibility for accidents or damage that occurs as a result of following this activity.You are responsible for making sure the activity is conducted safely.
Key Features
- Age Range 6+
- Duration Less than an hour
- Location Anywhere
- Season Any
- Time of Day Anytime
-
Categories:
Food Outdoors
campfire recipes
Activity Downloads
