Fires: extinguishing a fire
Extinguishing a fire properly is really important to prevent re-ignition and ground fire.
Introduction
It is very important to ensure that a fire is properly extinguished and cool at the end of an activity/session to ensure that re-ignition and ground fire do not occur.
In this guide we look at different methods and considerations when extinguishing a fire.
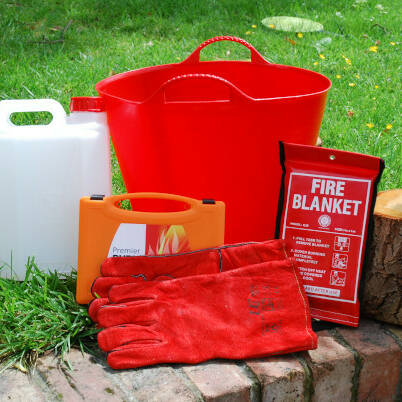
What you'll need
This activity has been provided by
Environmental Considerations
Consider the environmental impact of preparing, carrying out & completing this activity. Could this impact be reduced? Specific considerations for this activity could include:
- leave no trace
Health & Safety Considerations
Follow your usual operating procedures and carry out appropriate risk benefit assessments.
Some considerations particular to this activity include:
- fire safety
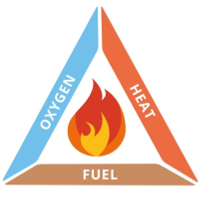
Removing an element from the Fire Triangle* will extinguish the fire
Fuel can be removed naturally, by the fire consuming all the burnable fuel, or manually, by removing the fuel with tongs. Separating the burning fuels from each other is an effective way to reduce heat.
Heat can be removed by dousing with water; the water turns to steam, taking the heat with it (be aware that this can have an explosive effect). The water, more importantly, prevents the oxygen from getting to the fire by filling air gaps with water.
Oxygen may be removed from a fire by smothering it with soil or sand. Do this by stirring the material through the embers – it should quickly fill small cavities and prevent oxygen reaching the embers. It is important that the fire is not just covered by soil or sand as it can smoulder underneath for several hours.
* See how to create & maintain a fire for more on the Fire Triangle.
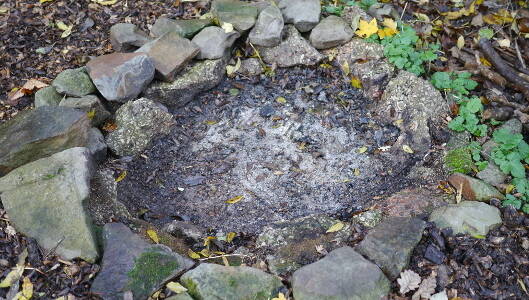
Step #1 Extinguishing a campfire
If you know when you are leaving the site do not add fuel prior to this, ideally leaving enough time for the campfire to burn out naturally (fuel removal).
Spread out the remaining burning embers across the whole pit (heat removal).
If you do not have enough time to wait for the fuel to burn out naturally, assist the extinguishing process by smothering the embers with an inflammable weight such as a damp log (oxygen removal). Do this carefully so as not to flick embers or burning sticks out of the fire. When dampening down embers watch out for burning embers sticking to whatever you are using. Do not dampen down with your boot as hot embers can melt the plastic and stick to the sole of your boot. A trowel or shovel can be handy for scraping at larger logs to ensure they are not smouldering underneath the blacked crust.
The ground under a raised fire pit can heat up significantly so carry out checks before leaving the area. If there is absolutely no potential for ground fires due to the nature of the soil or the construction of the pit go to step 3.
Step #2 Preventing ground fires
Once the embers have stopped glowing and most heat has been removed, use ash and dirt to smother the remaining embers.
Use a stick or trowel to churn up the ground and squash the embers.
Alternatively, pour water around the inner edge of the fire pit border (do not pour cold water onto hot rocks or very hot embers as this could cause them to split or explode). Gradually work your way into the centre, pouring water carefully. If the water/ground/ embers sizzle at any time, repeat step 1.
It may be necessary to poke holes into the bottom of the fire pit to help water soak in.
Check the temperature of the ground (by holding your palm directly above the area and feeling for heat) in and around the pit and repeat this process if necessary.
For more information about soil type and flammability look at our guide to preparing a fire area.
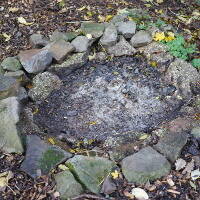
Step #3 Preventing re-ignition
Check all heat is dissipated before you leave the site and check all the embers are extinguished.
Check that the ground temperature is cool around the outside of the border of the pit, on the floor of the pit and a few centimetres down into the earth. If the ground is hot to touch then the site should not be left in case a fire re-ignites.
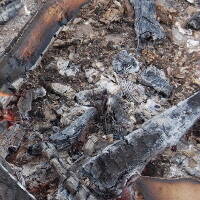
To extinguish large logs carefully scrape off the embers. Allow time to cool, checking for any re-ignition. Once cool douse with water.
If you have enough water, ideally the whole area should be doused and be cool enough to touch.
Remember if it’s too hot to touch, then it’s too hot to leave.
Tip:
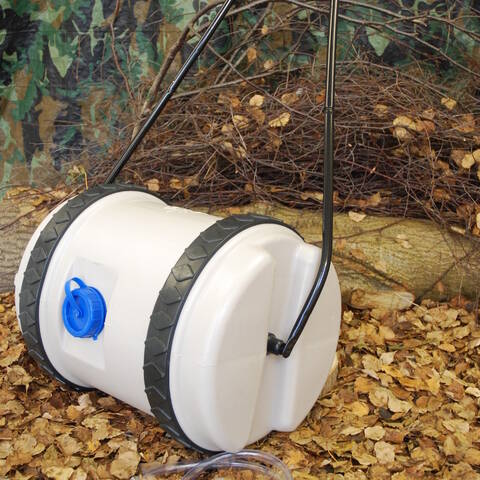
If you carry your kit to the site then consider using your emergency water to carry out step 2. Because the fire has been extinguished there are no heat sources to cause burns. This gives you a lighter container to carry back and ensures fresh emergency water is brought each time.
Disclaimer: Muddy Faces cannot take any responsibility for accidents or damage that occurs as a result of following this activity.You are responsible for making sure the activity is conducted safely.
Key Features
- Age Range All Ages
- Duration Less than an hour
- Location Anywhere
- Season Any
- Time of Day Anytime
-
Categories:
Fire, Shelters & Bushcraft
fire