Ramadan lantern - using a stick frame
Create a Ramadan lantern with a stick frame.
Introduction
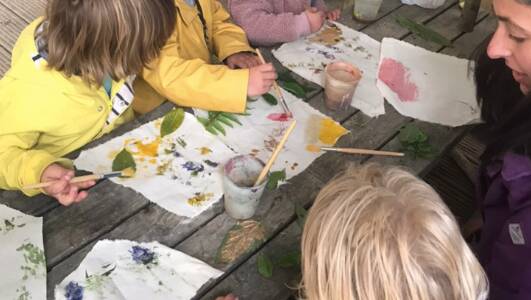
Nadine got in touch and wanted to share her Ramadan Lantern activity. She is doing her Forest School Practitioner training with Circle of Life Rediscovery and spends her time in the UK and Cairo, Egypt. Thank you Nadine!
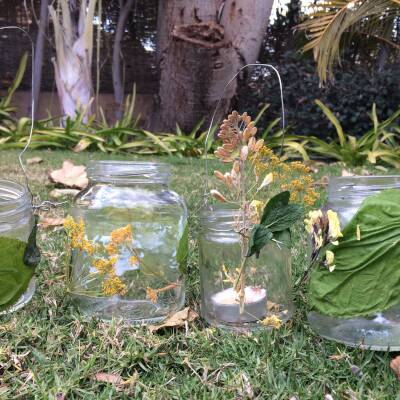
Last year she tried making this stick frame lantern and Nadine has also made a jar lantern (see link below).
Ramadan is the ninth month of the Islamic calendar (based on cycles of the moon). The end of Ramadan is marked by the 'Eid ul-Fitr' celebration - the Festival of the Breaking of the Fast.
What you'll need
- sticks
- string
- scissors
- calico/fabric
- natural dyes
- collection of flowers/leaves
- jam jars
Nadine Marroushi

Useful items from our shop
Environmental Considerations
Consider the environmental impact of preparing, carrying out & completing this activity. Could this impact be reduced? Specific considerations for this activity could include:
- responsible collection of flora
Health & Safety Considerations
Follow your usual operating procedures and carry out appropriate risk benefit assessments.
Some considerations particular to this activity include:
- use of tools
Ramadan lanterns
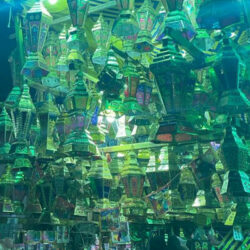
There is a rich cultural story behind the lanterns known as Fanoos, meaning lamp or light in Arabic.
It is thought that they originated in Egypt. During the holy month of Ramadan in 969 AD, the Egyptians were expecting the arrival of Al-Mu'izz li-Din Allah, the Caliph (a chief Muslim civil and religious ruler). The military commander at the time, asked for residents to hold candles to ensure the path would be lit for the Caliph when he arrived.
The tradition of lighting the Fanoos in Ramadan remains alive till today.

Step #1 Making the lantern frame
You'll need a collection of sticks to square lash together. Lashing is tricky so younger children will require support.
You can make the frame with a triangular or square shaped base/top to make a cuboid structure.
Top Tips
- Try to ensure that the sticks you use to create the top/bottom are the same length
- Thinner twine/string will make the lantern look neater
- If working with younger children, make the frames beforehand and they can decorate the frames
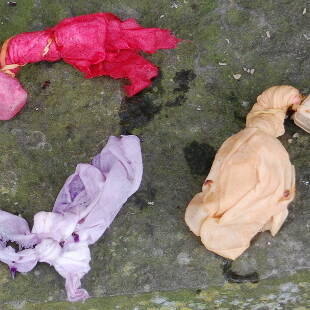
Step #2 Make some natural paint & paint onto fabric
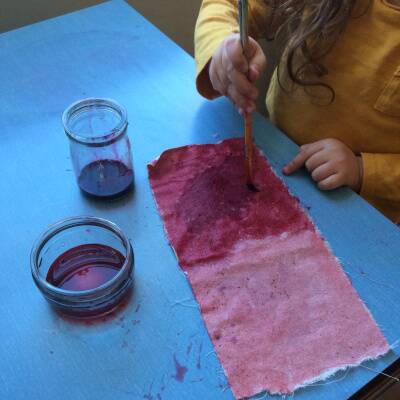
Make some natural paint to dye the calico/fabric.
- Yellow - turmeric and water
- Pink - beetroot juice
- Purple - blueberry juice
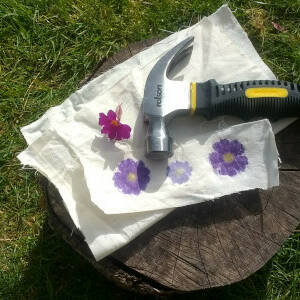
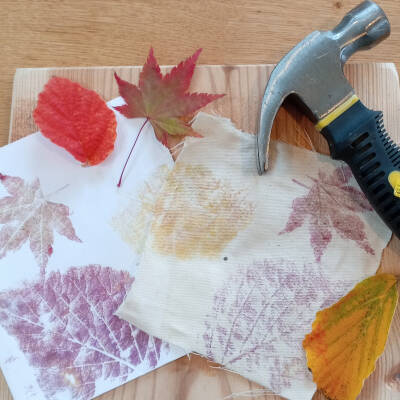
Step #3 printing with leaves/flowers
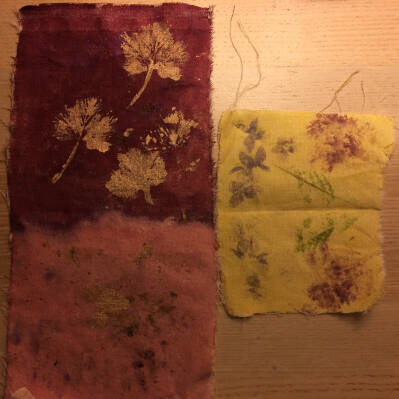
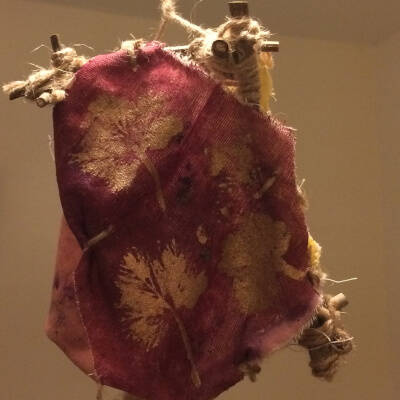
When the pieces of painted/dyed fabric have dried you can start printing using the hapa zome technique. The fresher the flora the better the print.
Notes
Nadine and her daughter decided to paint some of the leaves gold and print them onto the purple calico patch because it was such a dark colour. With the pink side, the printing didn’t go as well, because the flora wasn’t freshly picked and so the natural moisture you need for the printing had dried out.
Step #4 Tying the fabric sides
Tie the calico/fabric onto the frame with string.
Top Tip
You could use eyelet pliers to create holes in the fabric to let the light shine through.
Step #5 light up the lantern
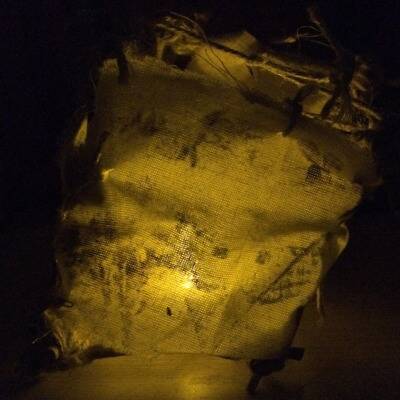
Use an LED tea light to light up the lantern.
Display the lantern in the evening when the day of fasting has finished.
Take it further
If you want to carry the lantern around make a string handle and tape some cardboard to the base.
Disclaimer: Muddy Faces cannot take any responsibility for accidents or damage that occurs as a result of following this activity.You are responsible for making sure the activity is conducted safely.
Key Features
- Age Range All Ages
- Duration Less than an hour
- Location Anywhere
- Season Any
-
Categories:
Art & Creating
Health & Wellbeing
Festivals & celebrations
