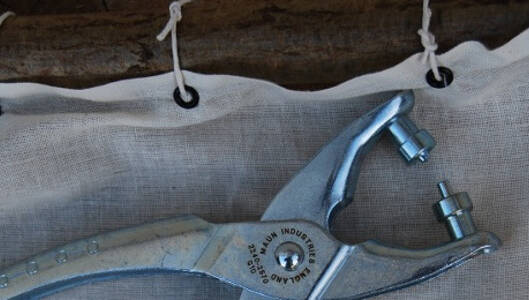
How to use eyelet pliers
A step-by-step guide to using eyelet pliers. Eyelets can be really handy for creative activities like making flags and bags.
Introduction
What you'll need
- material
- eyelet pliers and eyelets
This activity has been provided by
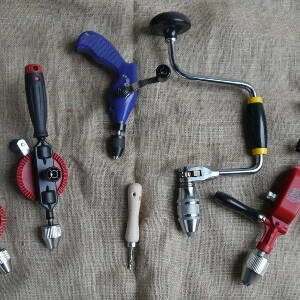
Useful items from our shop
Environmental Considerations
Consider the environmental impact of preparing, carrying out & completing this activity. Could this impact be reduced? Specific considerations for this activity could include:
- leave no trace
Health & Safety Considerations
Follow your usual operating procedures and carry out appropriate risk benefit assessments.
Some considerations particular to this activity include:
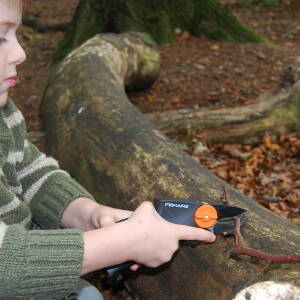
- tool use
Preparation:
Find, cut and prepare the material you want to have eyelets in.
Borrow or buy some eyelet pliers and extra eyelets.
Tip - when calculating what you’ll need for your project, allow a bit extra on the eyelets as some may break whilst being installed.
Step #1
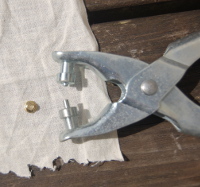
Lay out the material face down and mark out exactly where you want the eyelets to be.
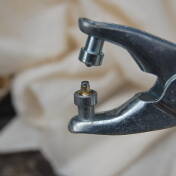
Place a rivet over the longer tooth of the pliers.
Step #2
Slide the pliers under the material and move them around until the long tooth is poking up on the marked spot.
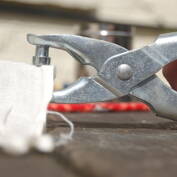
Squeeze the pliers together hard (I pressed them down on the table to help me apply enough pressure).
Step #3
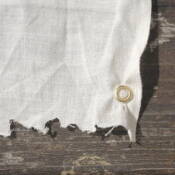
When you initially punch the rivet on, the material may still be over the hole.
Step #4
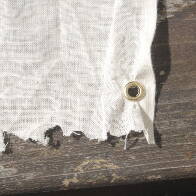
Turn the material over and rub off or poke through with a pencil to free up the hole.
Step #5
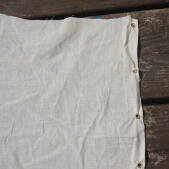
Repeat this process until you have inserted all the eyelets you require.
Take it further:
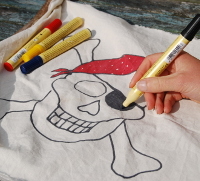
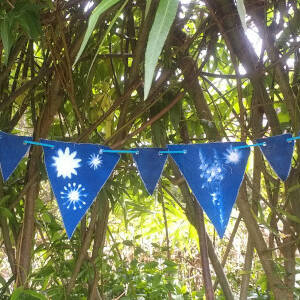
- material with eyelets can be used to make flags, bunting, banners, bags and den sheets.
Disclaimer: Muddy Faces cannot take any responsibility for accidents or damage that occurs as a result of following this activity.You are responsible for making sure the activity is conducted safely.
You might also like

Key Features
- Age Range 3+
- Duration Less than an hour
- Location Anywhere
- Season Any
- Time of Day Anytime
-
Categories:
Tool use & Traditional Crafts
Tool Guides