Natural frames
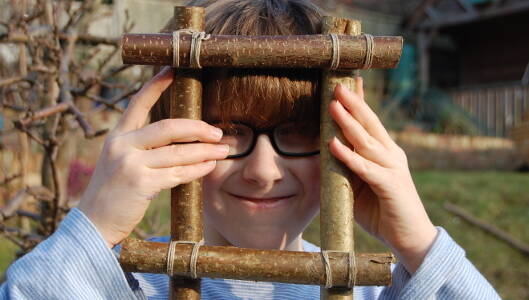
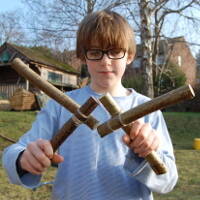
A fab project using simple tools, sticks and string to create a natural frame. Frame the view, frame your art, frame your face!
Introduction
Making frames is hugely rewarding and they can be used in many ways, including:
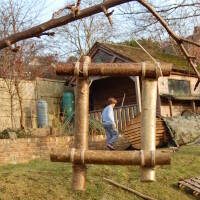
- framing art on the ground
- framing a view in the distance framing someone’s face
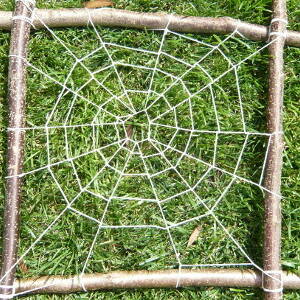
- dream catchers or woven art
- quadrant frames to study vegetation…….. the list is endless!
What you'll need
- 4 straight-ish sticks of equal length & preferably similar thickness
- string
- scissors/knife
This activity has been provided by
Useful items from our shop
Environmental Considerations
Consider the environmental impact of preparing, carrying out & completing this activity. Could this impact be reduced? Specific considerations for this activity could include:
- source of wood
Health & Safety Considerations
Follow your usual operating procedures and carry out appropriate risk benefit assessments.
Some considerations particular to this activity include:
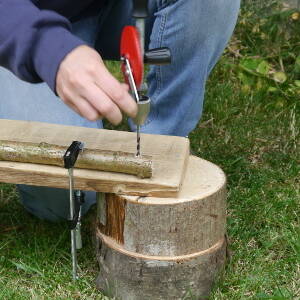
- tool use
Step #1
Lay two sticks on the ground.
Lay the other two perpendicular to them, creating the basic frame shape, so you can see how it needs to be tied together.
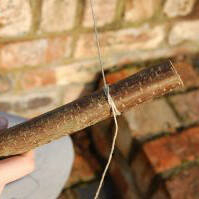
Step #2
Tie the string to one of the sticks, placing the knot near the end of the stick, the correct distance in from the end.
A clove hitch is a good knot to use for this.
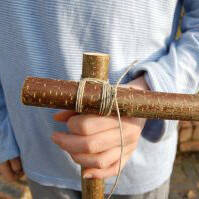
Step #3
Tie the sticks together, at right angles to each other.
If you want a firm, non-wobbly frame use a knot such as the square lash, and use a strong string that doesn’t snap under pressure.
Step #4
Repeat with the other 2 sticks.
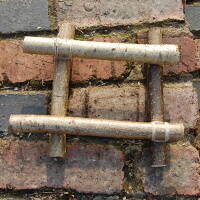
Now you have 2 corner pieces.
Step #5
Lay your two corner pieces out together to double-check they are lining up and lying correctly.
Then tie the final two corners.
Take it further:
- remember frames don't always need to be square - triangles work well - make sure to lay your frame out and check it to make sure the angles will work.
Disclaimer: Muddy Faces cannot take any responsibility for accidents or damage that occurs as a result of following this activity.You are responsible for making sure the activity is conducted safely.
You might also like

Key Features
- Age Range 6+
- Duration Less than an hour
- Location Anywhere
- Season Any
- Time of Day Anytime
-
Categories:
Art & Creating
leaves, sticks & petals
Fire, Shelters & Bushcraft
knots & cordage