Make a broomstick
A simple way to make a useful broom & with a bit of imagination you might be able to fly it!
Introduction
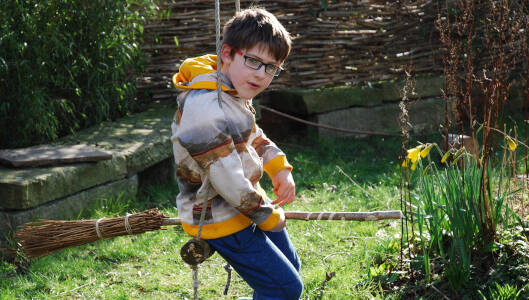
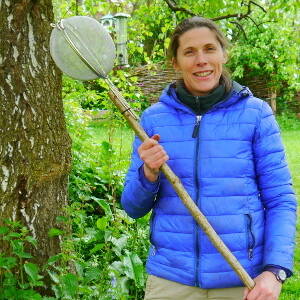
A besom broom is a broom constructed around a central pole. Traditionally the handle is made of hazel wood and the head is of birch twigs but other materials can be used. In the photo above, the handle is hazel and a knife has been used to create a decorative pattern. As you can see the magic definitely works as it is actually flying (with the help of our swing)!
What you'll need
- a pole
- string
- hand drill and bits
- secateurs
- bow saw
- cutttings from birch/willow
- a little bit of magic!
This activity has been provided by
Useful items from our shop
Environmental Considerations
Consider the environmental impact of preparing, carrying out & completing this activity. Could this impact be reduced? Specific considerations for this activity could include:
- sustainable and responsible sourcing of pole and broom head materials
Health & Safety Considerations
Follow your usual operating procedures and carry out appropriate risk benefit assessments.
Some considerations particular to this activity include:
- tool use
Step #1 PREPARATIONS
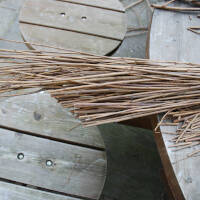
Collect a bundle of birch/willow for your broom head, and find a piece of wood suitable for the handle.
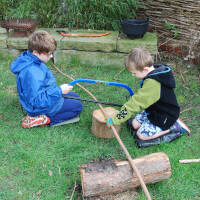
Step #2 CUTTING THE POLE
Cut the pole to length using a saw.
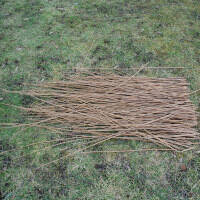
Step #3 GET THE BROOM HEAD MATERIAL READY
Cut the broom head material to length using secateurs. Various materials can be used, including thin willow or birch twigs.
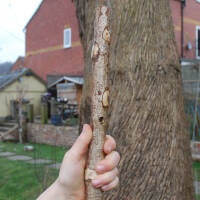
Step #4 DRILLING THE POLE
Drill a hole in the pole about 10cm from one end.
This is to securely connect the brush material, to prevent the broom head falling off. It’s not used in the traditional technique but it’s common for the heads to fall off when making them with children, as the tension needed can’t be applied without more specific tools and more experience.
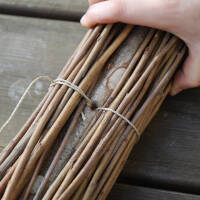
Step #5 TYING ON
Tie string or wire through the hole and then place a layer of broom head material around one side of the pole.
Tie the string around and back through the hole and then repeat on the other side.
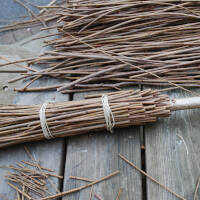
Step #6 ADDING ADDITIONAL BROOM HEAD MATERIAL
Add more broom head material and firmly tie it around the outside.
Once you have enough material added you can tie around the outside in a band and add another band nearer to the end of the pole.
Step #7 TRIMMING UP
Finally, trim your broom head material to shape it.
TAKE IT FURTHER
- learn how to fly your broom!
Disclaimer: Muddy Faces cannot take any responsibility for accidents or damage that occurs as a result of following this activity.You are responsible for making sure the activity is conducted safely.
You might also like

Key Features
- Age Range All Ages
- Duration 1 - 2 Hours
- Location Anywhere
- Season Any
-
Categories:
Tool use & Traditional Crafts
secateurs & saws
palm drills & rotary hand drills