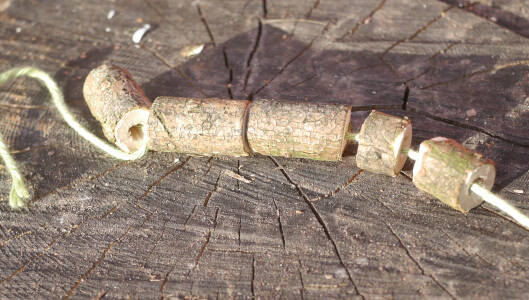
Elder Bead String
A simple and very satisfying way of making your own elder beads using simple tools.
Introduction
* Muddy Faces actively promotes child-led outdoor play & learning. We recognise and believe in the curiosity that children have and their drive to explore and discover. We hope that you will bear this in mind when considering more prescribed activities like this one – often much more creative ideas will occur if resources are simply provided and children are given the time and space to explore independently.
What you'll need
- by-pass secateurs or a junior hack saw
- straight pieces of elder (ideally avoid points where leaves and branches sprout from the main part as the pith diameter can be smaller)
- tent peg or similar
- string/wool
This activity has been provided by
Useful items from our shop
- Bypass Secateurs
- Razorsharp Advance Mini Bypass Lopper
- Thin Cotton String
- Faithfull Junior Hacksaw
- Acrylic Pens (Fine Nib) - Pack of 5
- Mora Basic 511 Knife with Handguard
Environmental Considerations
Consider the environmental impact of preparing, carrying out & completing this activity. Could this impact be reduced? Specific considerations for this activity could include:
- source wood sustainably (see our tips for foraging)
Health & Safety Considerations
Follow your usual operating procedures and carry out appropriate risk benefit assessments.
Some considerations particular to this activity include:
- tool use
- using string

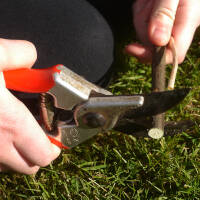
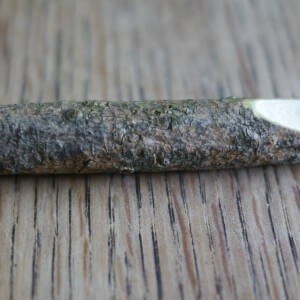
Step #1 Select your wood
Cut your piece of elder; you will need a piece as thick as your thumb – about 1-2cm (ideally you want to work with the pith inside the diameter of a tent peg) and choose a straight piece. You will need secateurs or loppers to cut with.
Tip: if you plan to decorate the beads by carving the bark with a knife, it’s better to do it now, before you cut the beads to length.
Step #2 Cut the beads
Cut small lengths of elder, these can be different lengths or different diameters depending on your design.
Measure and mark the elder first to make accurate lengths if you want to be precise.
The elder can be cut in different ways:
- using bypass secateurs or loppers (if the scissor action squashes and breaks the elder then a saw would be better)
- a junior hacksaw is ideal for small fiddly jobs – the piece of wood needs to be held securely when sawing; a saw horse or a V-shape cut into a log can help with this.
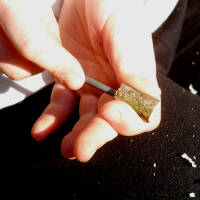
Step #3 Remove the pith
This is the fun bit! Poke out the pith using a tent peg of similar (blunt-ended). The pith should pop out very easily and it is quite addictive!
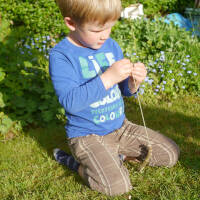
Step #4 Use your beads
Now you have a selection of beads you can use them for a threading activity, string them up to make a decoration, or make a bracelet.
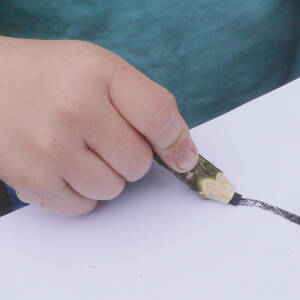
Take it further:
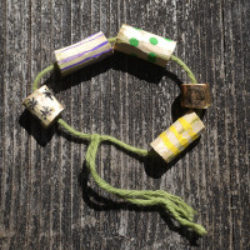
Decorate the beads by whittling off the bark before you cut them. You can also add designs using acrylic pens.
Use the beads for counting games, sliding them along the string as you count.
For more information on elder and its uses visit our INSPIRATIONS – elder page.
Disclaimer: Muddy Faces cannot take any responsibility for accidents or damage that occurs as a result of following this activity.You are responsible for making sure the activity is conducted safely.
You might also like

Key Features
- Age Range All Ages
- Duration 1 - 2 Hours
- Location Anywhere
- Season Any
- Time of Day Anytime
-
Categories:
Art & Creating
with tools
Tool use & Traditional Crafts
secateurs & saws