Draw or paint a spider's web
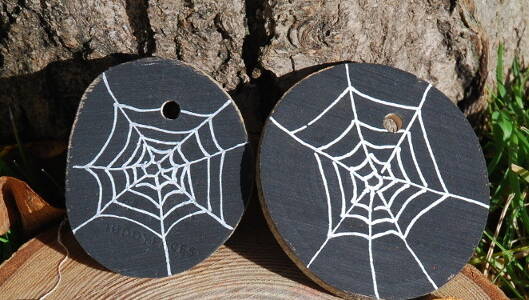
A super simple mark making activity using a wooden disc to create a spider web decoration.
Introduction
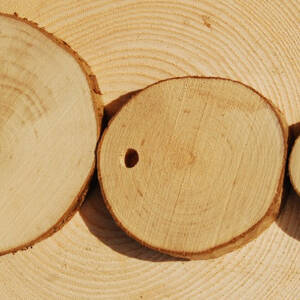
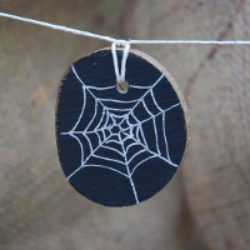
You need some wooden discs for this activity; if you want to hang them up then they need a hole in them. If you want to drill your own look at our drilling a wooden disc activity or you can buy them with holes pre-drilled. Painting them first with black paint or a darker colour gives a contrast with the white pen.
* Muddy Faces actively promotes child-led outdoor play & learning. We recognise and believe in the curiosity that children have and their drive to explore and discover. We hope that you will bear this in mind when considering more prescribed activities like this one - often much more creative ideas will occur if resources are simply provided and children are given the time and space to explore independently.
What you'll need
- wooden discs with holes/or use cardboard
- acrylic pens/pens/paint
- string
This activity has been provided by

Useful items from our shop
- Acrylic Pens (Fine Nib) - Pack of 5
- Discs
- Drilled Discs
- Drill Your Own Tag Kit - Class Sized
- Field Guide - House & Garden Spiders
- Sisal String
Environmental Considerations
Consider the environmental impact of preparing, carrying out & completing this activity. Could this impact be reduced? Specific considerations for this activity could include:
- leave no trace
- source of wood
Health & Safety Considerations
Follow your usual operating procedures and carry out appropriate risk benefit assessments.
Some considerations particular to this activity include:
- tool use
Step #1
Draw a small central circle.
Step #2
Then draw seven straight lines (spokes) out from the circle. They can be as long as you like and don’t worry about making them equal distances apart – they look better a bit uneven.
Step #3
Starting where a spoke meets the centre circle, draw a line out and up slightly to the next spoke, and then from this spoke to the next. You’re basically creating a spiral shape.
Step #4
Continue joining one spoke to the next, gradually working outwards. It can help to turn your paper (or whatever surface you’re drawing/painting on) as you go.
Step #5
As you get further from the centre, curve the lines slightly – so the strands of the web look like they are drooping in between each spoke.
Step #6
Continue until your web is as big as you want it to be.
Take it further:
- draw and cut out a spider – play pin the spider on the web
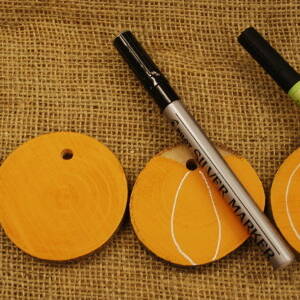
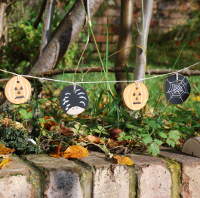
- paint webs and pumpkins on wooden discs to create a Halloween Garland.
Disclaimer: Muddy Faces cannot take any responsibility for accidents or damage that occurs as a result of following this activity.You are responsible for making sure the activity is conducted safely.
Key Features
- Age Range 3+
- Duration Less than an hour
- Location Anywhere
- Season Any
- Time of Day Anytime
-
Categories:
Art & Creating
wooden discs
Nature
