Clay frog life cycle
A spring clay craft activity to help explore a frog life cycle.
Introduction
If you want to enhance a frog project then this is a great little activity* using clay – a wonderful tactile & versatile material.
* Muddy Faces actively promotes child-led outdoor play & learning. We recognise and believe in the curiosity that children have and their drive to explore and discover. We hope that you will bear this in mind when considering more prescribed activities like this one - often much more creative ideas will occur if resources are simply provided and children are given the time and space to explore independently.
What you'll need
- clay
- modelling tools/felt tip pen lid
- wooden board
This activity has been provided by

Useful items from our shop
Environmental Considerations
Consider the environmental impact of preparing, carrying out & completing this activity. Could this impact be reduced? Specific considerations for this activity could include:
- use natural clay (air drying clay contains nylon fibres)
Health & Safety Considerations
Follow your usual operating procedures and carry out appropriate risk benefit assessments.
Some considerations particular to this activity include:
- handwashing
Step #1 Inspiration
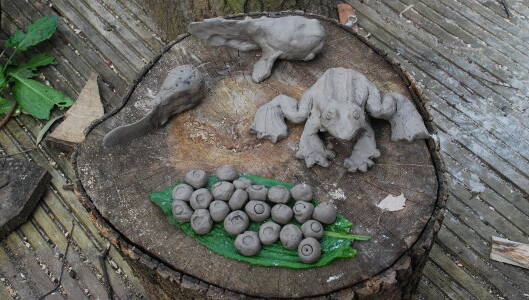
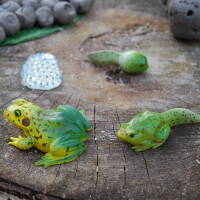
We used a manufactured frog life cycle to help us explore the amphibian development stages (links to 3 different ones available from Muddy Faces above). Then we decided to create our own life cycle out of clay.
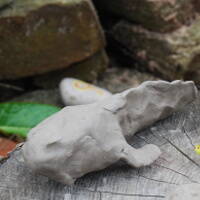
Step #2 Making the tadpoles
We started with the tadpole and tadpole with legs - these shapes are quite easy to create - start with a ball of clay and squidge and shape into a tear drop, then form into your final shape using your life cycle, a photograph or real tadpoles as your guide.

Step #3 Make the frog
Main body - Make a sand timer shape and squash down.
Back and front legs - Back legs - roll out two long sausages and flatten the end to create the webbed foot.
Front legs - as for back legs but shorter sausage.
Attention to detail - Roll out two thin sausages and blend onto the back to create ridges. Roll two small balls for the eyes. Add more detail with a small pencil or clay tool.
Finishing touches -Smooth off the joints with water and allow to dry.
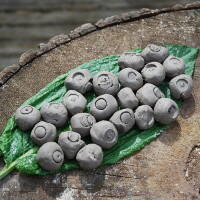
Step #4 Make the frogspawn
Rolling lots of little balls for the frogspawn was fun and pushing a felt tip lid into each one created the small black egg.
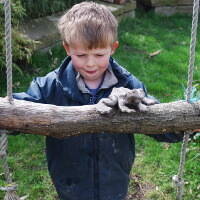
Step #5 Frog adventures & exploration
Once you have made your clay frog, it is imperative you take it to explore around your garden.
(Don’t forget the thing clay frogs like most is a little push on the swing!)
Take it further:
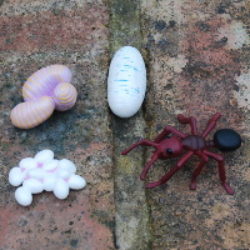
- explore & create different life cycles, such as lady bird, snail, worm or ant.
Disclaimer: Muddy Faces cannot take any responsibility for accidents or damage that occurs as a result of following this activity.You are responsible for making sure the activity is conducted safely.
Key Features
- Age Range 3+
- Duration Less than an hour
- Location Anywhere
- Season Spring
- Time of Day Anytime
-
Categories:
Art & Creating
mud, clay & sand
Nature
