Simple painted robins
An easy-to-do seasonal craft activity that's great for children to create these cute robins.
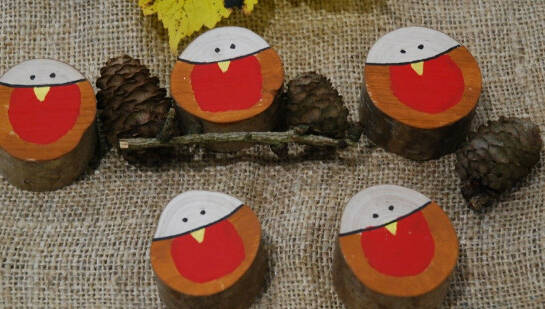
Introduction
* Muddy Faces actively promotes child-led outdoor play & learning. We recognise and believe in the curiosity that children have and their drive to explore and discover. We hope that you will bear this in mind when considering more prescribed activities like this one - often much more creative ideas will occur if resources are simply provided and children are given the time and space to explore independently.
What you'll need
- wooden counters/discs
- alternatives:
- cardboard or pebbles
- acrylic pens
- sandpaper
- palm drill (if drilling a hole for hanging decorations)
This activity has been provided by

Useful items from our shop
Environmental Considerations
Consider the environmental impact of preparing, carrying out & completing this activity. Could this impact be reduced? Specific considerations for this activity could include:
- leave no trace
- source of wood
Health & Safety Considerations
Follow your usual operating procedures and carry out appropriate risk benefit assessments.
Some considerations particular to this activity include:
- tool use if drilling own counter/disc
Preparation
Cut your own or buy a number of wooden discs or counters.
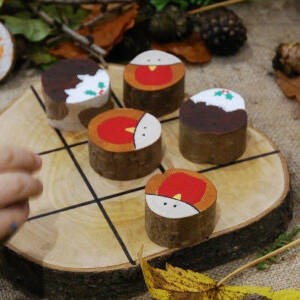
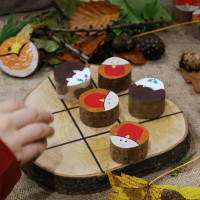
For hanging decorations, drill a hole at the top 9see our drill a wooden disc activity). Thicker counters can be used for games. In this example we are making counters for tic tac toe.
Sand your counters smooth on one side (or both sides if you’re painting both).
Using weatherproof acrylic paints gives a finish suitable for the outdoors – most other paints should be fine for indoor use.
Step #1
Using a pencil draw a curved line about two-thirds of the way up the disc.
At the centre point of this curve draw a triangle (this will be the beak).
These lines will be the guides for painting.
Step #2
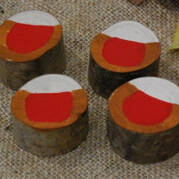
Paint a horseshoe of brown around the edge and up to the pencil guide. Allow to dry.
Step #3
Inside the horseshoe, paint the robin’s bright red breast – again painting up to the guidelines. Try to avoid painting where the beak will be (if you are using acrylic paints it shouldn’t matter if you go over, as you can paint one colour over another.) Leave to dry.
Step #4
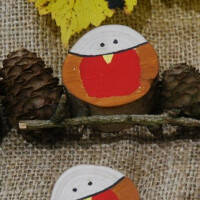
Paint in an upsidedown bright yellow triangle for the beak – pointing down into the red area.
Step #5
Once it’s all dry, use a black marker to draw in the eyes and face line.
Take it further:
- use a yellow and blue paint combination for blue tits, and other colours for a cheap bird selection
- drill holes and add string to hang your robins up as seasonal decorations
- use your robin counters with Christmas pudding counters to create festive tic-tac-toe.
Disclaimer: Muddy Faces cannot take any responsibility for accidents or damage that occurs as a result of following this activity.You are responsible for making sure the activity is conducted safely.
Key Features
- Age Range 3+
- Duration Less than an hour
- Location Anywhere
- Season Winter
- Time of Day Anytime
-
Categories:
Art & Creating
wooden discs
