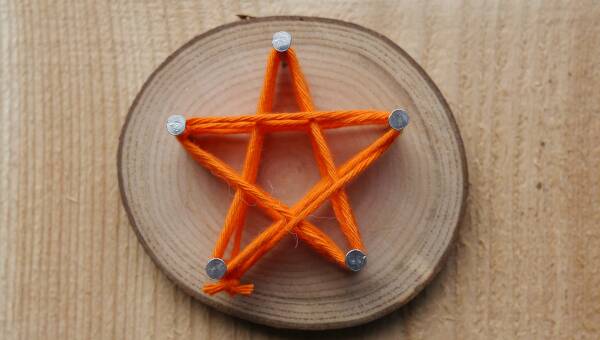
Nail art star
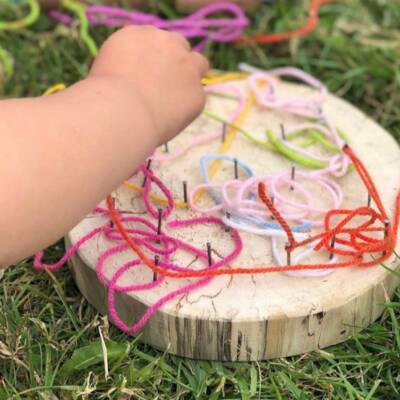
A super simple children's woodworking activity using a hammer and nails.
Introduction
Another great activity using a wooden disc/cookie and perfect for those who like hammering.
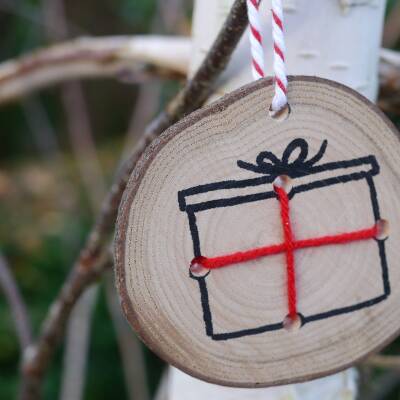
Create any shape you fancy - be as creative as you like or follow a simple design like this star. A star or tree shape is great if you want to use this as a Christmas activity. Try an egg at Easter!
* Muddy Faces actively promotes child-led outdoor play & learning. We recognise and believe in the curiosity that children have and their drive to explore and discover. We hope that you will bear this in mind when considering more prescribed activities like this one – often much more creative ideas will occur if resources are simply provided and children are given the time and space to explore independently.
What you'll need
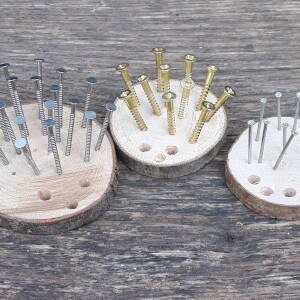
- wooden discs/cookies
- hammer
- nails
- wool or similar
- scissors
This activity has been provided by
Useful items from our shop
Environmental Considerations
Consider the environmental impact of preparing, carrying out & completing this activity. Could this impact be reduced? Specific considerations for this activity could include:
- source of wood
- leave no trace
Health & Safety Considerations
Follow your usual operating procedures and carry out appropriate risk benefit assessments.
Some considerations particular to this activity include:
- tool use
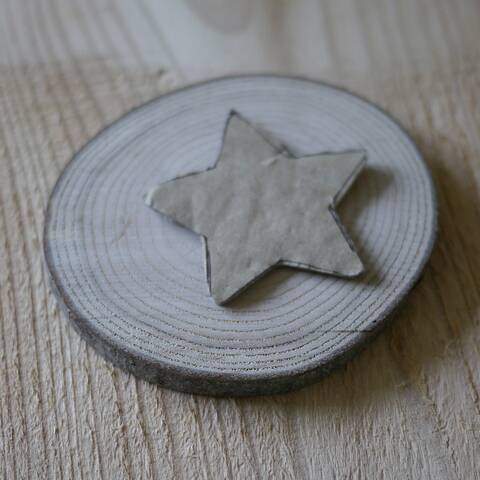
Step #1 Make a card template
Make a card template that will fit within the wooden disc. Draw freehand if you are confident or trace around a pastry cutter or similar (which is what we did).
This template can be used as a nail placement guide.
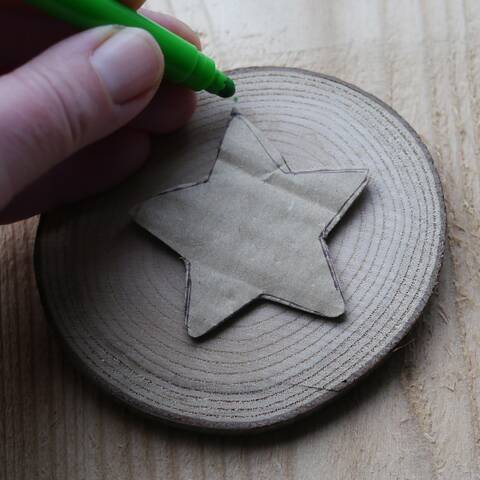
Step #2 mark out nail spots
Place your template on the wooden disc.
Use a pen/pencil to mark dots on the disc where the nails are going to go, using the template as your guide.
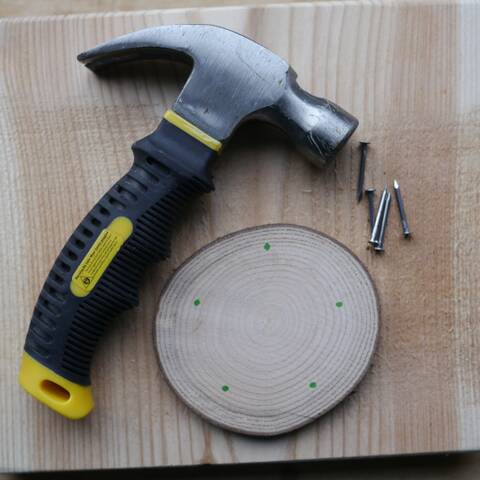
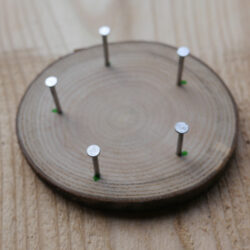
Step #3 hammer in the nails
Hammer the nails into the points you marked out.
Top tips:
- Use a workbench, log seat or similar to hammer on to
- Don't hammer nails too close to the edge of the disc (it may split)
- Don't hammer in too far - you want your nails to stand nice and tall so you can wrap your wool or string around them
- Watch out for nails coming through the other side of the disc (if they do you could put tape on the back or glue some fabric to protect against the points of the nails). Use a little practice disc first to test how far you can go before the nail comes through
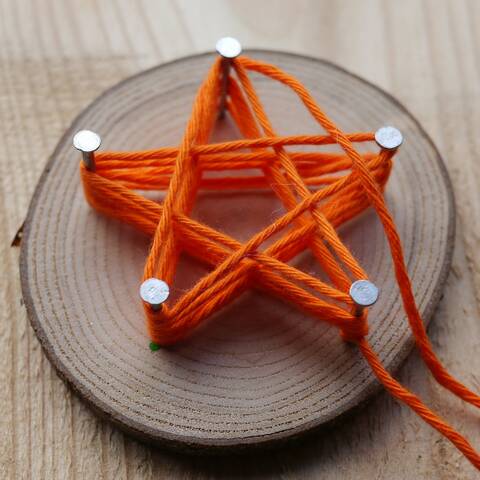
Step #4 Wrap wool around the nails
Anchor one end of the wool to a nail using a clove hitch, leaving a bit of wool to tie off with when you finish. Use long lengths of wool, or if you are using a ball it is a bit easier to rotate the disc.
Start wrapping wool around the nails to see the shape appear.
Top Tip
If you finish on the nail you started on then you can tie the two ends together to finish off.
Take it further
Use drilled discs or drill a hole in the disc before step one so you can make a hanging decoration.
Hang several off a longer length of wool or string to make disc bunting!
Disclaimer: Muddy Faces cannot take any responsibility for accidents or damage that occurs as a result of following this activity.You are responsible for making sure the activity is conducted safely.
You might also like

Key Features
- Age Range 3+
- Duration Less than an hour
- Location Anywhere
- Season Any
-
Categories:
Art & Creating
weaving & wool
wooden discs
with tools
Tool use & Traditional Crafts
hammers