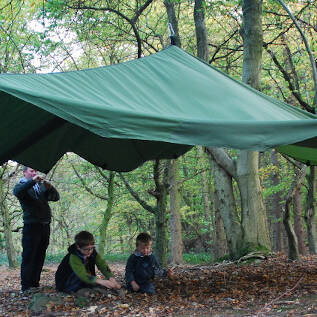
Shelters: fixed line system
Having a semi-permanent fixed line between two points can make putting up your shelter both quick and efficient.
Introduction
A fixed line system is ideal for a more permanent site where the shelter is used on a regular basis. Fixed systems can take time to set up initially, but allow for very quick erection and dismantling of a shelter later. They also protect trees from frequent rope friction.
Here we show you how to use a fixed line system using a cord to haul up the shelter and an alternative method where the shelter is hauled up with the main rope. Have a look at both and see what works best for you.
What you'll need
- screw gate carabiner
- strong rope flexible enough to tie
- tree protection (hosepipe, roll mat)line system using a cord to haul up the shelter and an alternative where the shelter is hauled up with the main rope.
This activity has been provided by
Useful items from our shop
Environmental Considerations
Consider the environmental impact of preparing, carrying out & completing this activity. Could this impact be reduced? Specific considerations for this activity could include:
- where possible reduce impact of friction on trees at any point of contact
- if permanently erected, regularly untie and retie ropes to allow tree growth and prevent cutting in and the tree growing over the rope
Health & Safety Considerations
Follow your usual operating procedures and carry out appropriate risk benefit assessments.
Some considerations particular to this activity include:
- refer to working at height regulations (we do not offer any working
at height guidance here)
Step #1 Choose site & suitable anchoring points
Site
Choose a site with a big enough, clear floor space - for under the shelter - and multiple fixing points nearby - trees/posts. Pick out two suitable points/branches to assemble the fixed line.
Once you have chosen a suitable place you may need to clear ground flora to prevent trip hazards and any flora that may damage a shelter. Smaller branches may need to be removed, appropriately, to access fixing points.
Shelter height
Unless using special techniques, the fixed line will sag under the weight of the shelter so allow for this.
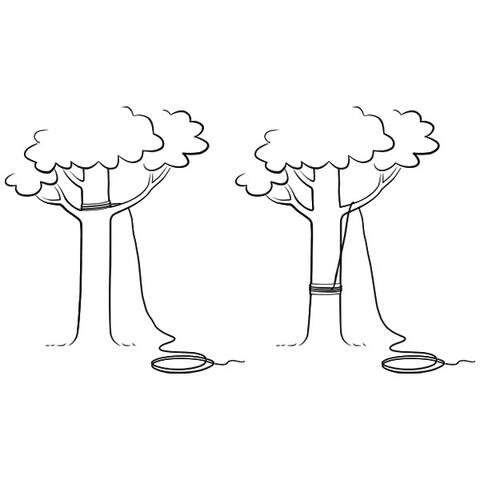
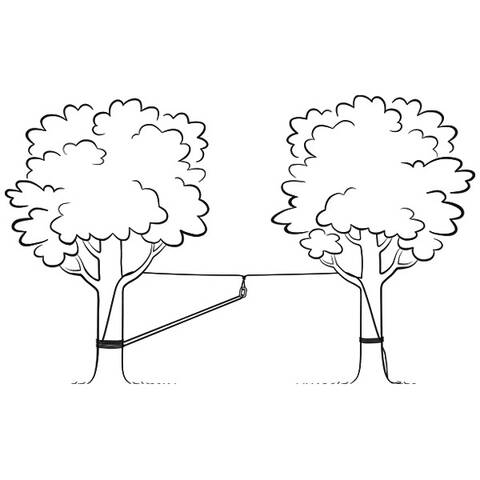
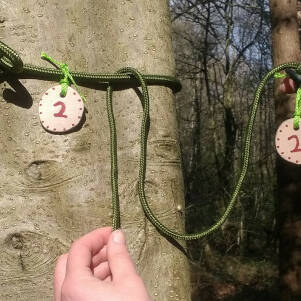
Step #2 1st fixing point
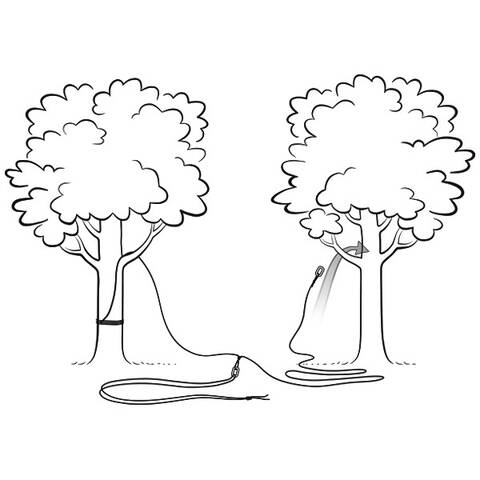
To minimise tampering it is ideal if you can get up into the tree safely and tie the end of the rope high up (see image - tree on left). You may want to use a ladder but you must refer to working at height regulations.
Alternatively, follow our guide to throwing a rope over a high branch. Once you have the rope over the high point tie the end off as high as possible to avoid tampering (see image).
Top tips
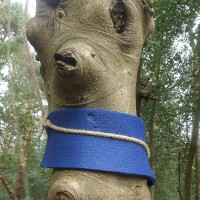
- Protect trees from rope damage when tying off by using foam/old carpet or similar
- heat-seal ends if cutting any man-made rope or cord such as hempex or paracord to prevent fraying (be careful - heated plastic is dangerous - avoid contact with skin)
- if you have concerns that people may come to your site, ensure that any cord hanging down is a discreet coloured brown or green for camouflage. Ensure everything is tied off as high as possible to keep it out of line of sight
- never allow a rope to run through the webbing straps of your shelter as the rope will cut the webbing strap
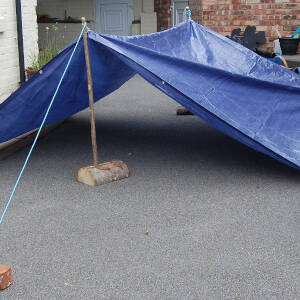
Step #3 hoisting point
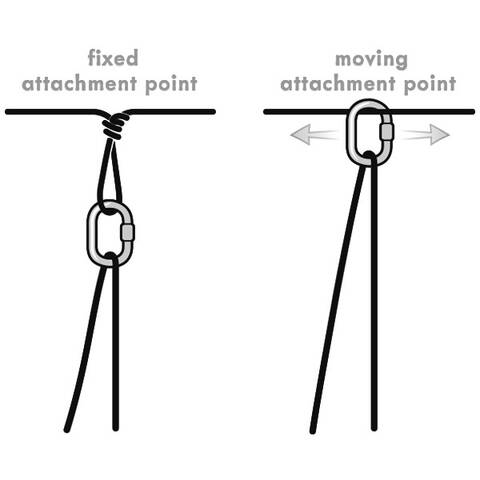
A carabiner on a fixed line will create a low friction point to hoist the shelter up. There are two ways to do this:
Fixed attachment point - to do this tie a knot in the rope to create a loop. The position of the loop should be central to your site when the rope is raised. Clip a screwgate carabiner to this loop and screw shut. The advantage of the fixed point is, when hoisting, the shelter always goes to the correct point.
Moving attachment point - clip a screwgate carabiner to your rope and screw shut. A moving attachment point is likely to be useful if you plan to leave your shelter's central point attached to the fixed line but then want to dismantle the guy ropes and store the shelter against the tree like a rolled up sail. This is only advisable for sites that will not have any interference.
NB: Leaving a shelter out exposed to elements, even when dismantled, will reduce its life span.
Step #4 hoisting cord
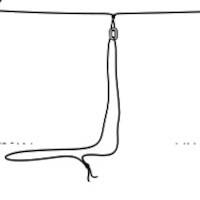
Pass a length of strong cord or rope, double the height of the fixed line, through the carabiner.
Tie the ends of the cord together with a non-slip knot to create a loop. The loop ensures you don’t lose the end of the cord while you finish setting up your fixed line.
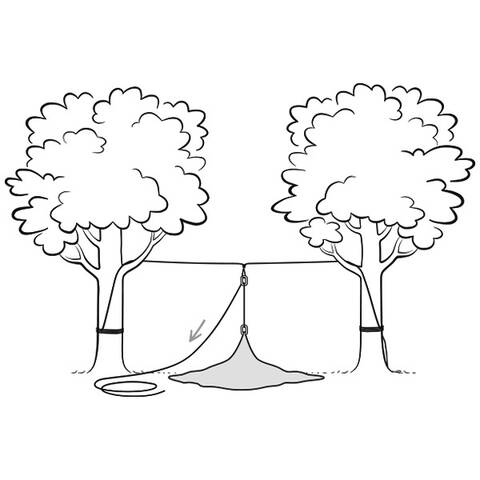
Step #5 2nd fixing point
Pass the end of the rope over/around the 2nd fixing point. Once again, ideally high up in the tree. Carefully pull the rope, creating a taut line, between the two points. If using a fixed central point check that the carabiner/loop position is in the correct place. If not, drop the rope and move the knot before pulling it back up.
Pull as much slack out as possible and tie the rope securely using tree protectors. Once you are happy the fixed system is in the correct position, the hoist cord is still in place, and the line is tight enough, you can tidy up or cut off any excess rope.
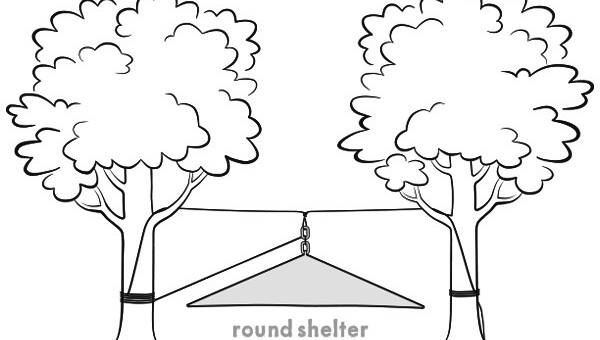
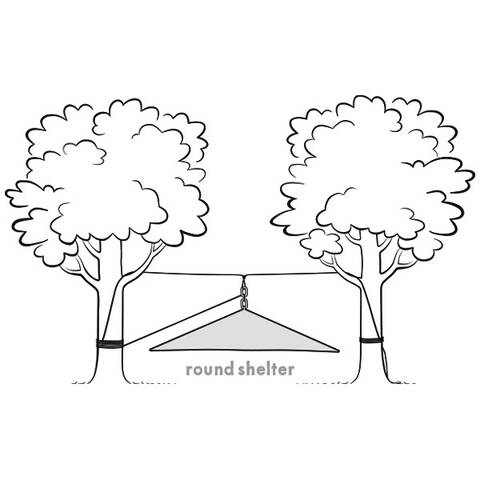
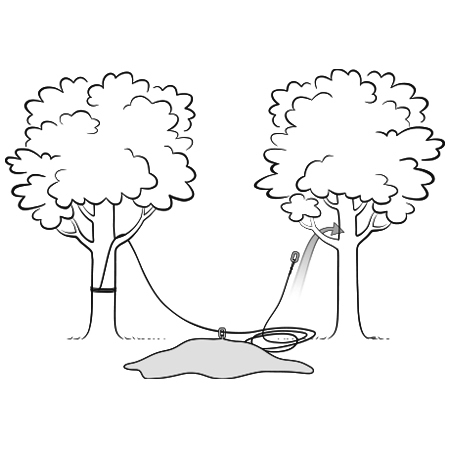
Step #6 Hoist the shelter
The fixed system is now ready to hold up the central point of a shelter.
Using the loop of cord as a hoist
Undo the loop of cord dangling from the screwgate carabiner - take extra care not to let go of an end.
Tie one end to the central point of the shelter - you can use a clip carabiner to make this easier - tie the end of the cord to the clip carabiner then clip the carabiner to the shelter.
Pulling the other end (the end not attached to the shelter) gradually hoist the shelter up. Once you have it at your required height tie the free end to a branch or tree, above the planned height of the edge of shelter.
If you plan to have a high shelter then you may wish to pass the free end of cord over a high branch then down the trunk to be tied off lower. If doing this be aware of friction fraying the cord and damaging the tree.
To take down the shelter reverse this process.
Step #7 Storage
When the system is not in use tie the loop of cord off above head height. You can use green or brown paracord to be more discreet.
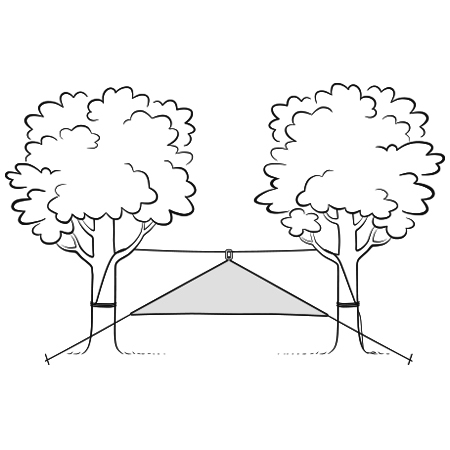
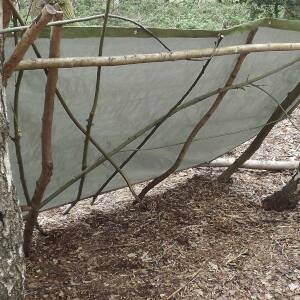
Alternative fixed line technique
This technique uses the same process as outlined above but doesn't use a cord to haul up the shelter - the shelter is fixed directly onto the carabiner.
NB: Use a carabiner or sacrificial cord - never pass the line through the webbing strap of the shelter as it can cut through and permanently damage the shelter.
The 2nd fixing point is used to hoist the shelter up, rather than a cord.
- The advantage of using this technique is you do not require a hoisting cord, making the system more simple
- The disadvantage is you will be pulling the rope over a branch and the rope will be pulling weight, so this will cause significant friction, making it difficult to pull tight, and damaging the tree unless suitable protection is used.
Hoisting the shelter
Using the technique of throwing a rope over a high branch, pass the free end of the line over fixing point 2 (ensure tree protection is in place).
Pull the free end down and the shelter should raise off the ground. Once the shelter is at the desired height tie off the end of the fixed line.
Take it further
- look at our erecting a large shelter activity where we have put together some tips and ideas for fixing out your guy ropes to help with speedy erection of your shelter.
Disclaimer: Muddy Faces cannot take any responsibility for accidents or damage that occurs as a result of following this activity.You are responsible for making sure the activity is conducted safely.
Key Features
- Age Range 12+
- Duration Less than an hour
- Location Garden / HomePark / Green spaceWoods / Forest
- Season Any
-
Categories:
Fire, Shelters & Bushcraft
shelters