Malleable Mud
Make your own tactile 'clay' from an abundant free resource - mud!

Introduction
A brilliant mud activity that involves digging, pouring, filling, straining, moulding and creating!
*Muddy Faces actively promotes child-led outdoor play & learning. We recognise and believe in the curiosity that children have and their drive to explore and discover. We hope that you will bear this in mind when considering more prescribed activities like this one - often much more creative ideas will occur if resources are simply provided and children are given the time and space to explore independently.
Thank you to Snapdragon Nurseries’ dedicated Forest School leader Tim Graham for sharing this activity. Snapdragons Nurseries are based in Bath, Bristol and Wiltshire.
Find out more at www.snapdragonsnursery.com
Photo credits: Snapdragons Nursery (all images)
What you'll need
- soil
- buckets
- water
- watering cans
- old sheet/material
Snapdragons Nursery

Environmental Considerations
Consider the environmental impact of preparing, carrying out & completing this activity. Could this impact be reduced? Specific considerations for this activity could include:
- source of soil
Health & Safety Considerations
Follow your usual operating procedures and carry out appropriate risk benefit assessments.
Some considerations particular to this activity include:
- handwashing
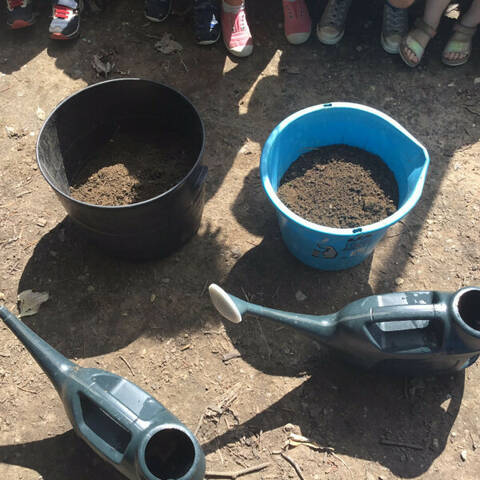
Step #1
Get some mud and some water. You can riddle the mud to get out the worst of the stones and sticks if you want to be fancy.
Make sure to check your raw material for foreign bodies and follow your usual H&S procedures.
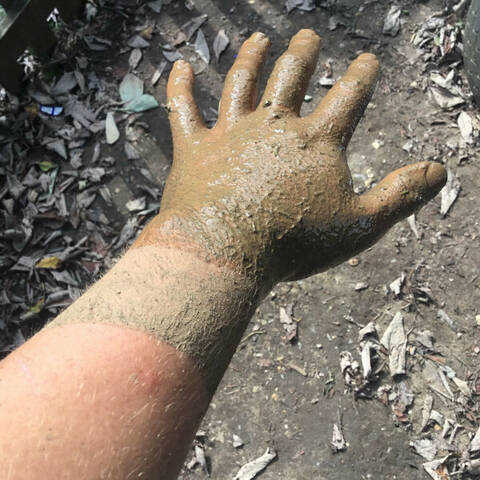
Step #2
Pour water into mud and mix as much as possible. You know it’s going well when your arms get covered in clay particles
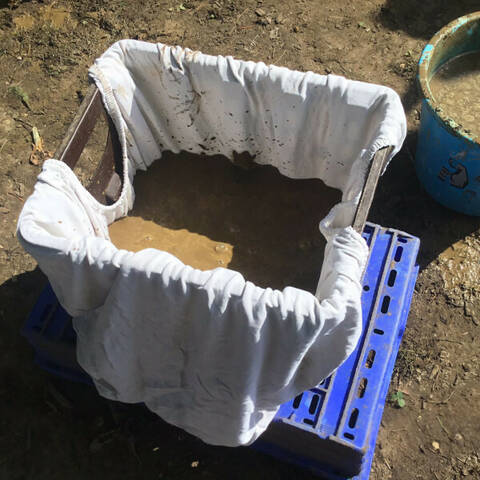
Step #3
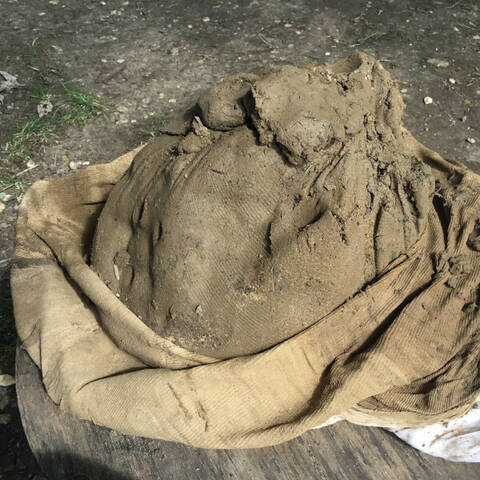
When you’ve got a good mix on, leave for a few minutes to let the last stones sink to the bottom. Pour the mixture into a bed sheet (ask permission first, it will not line a mattress again!).
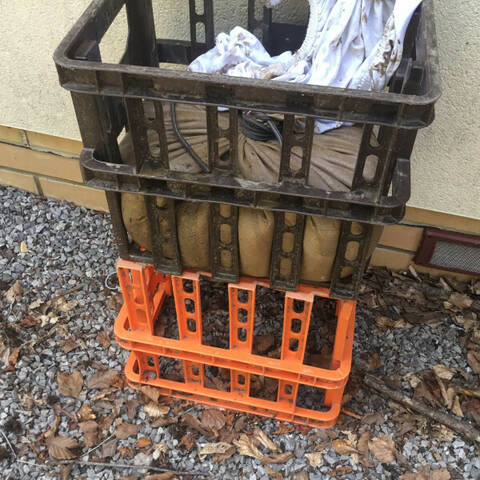
Step #4
Tie the top and leave to drain. Hanging from a tree is best (but we improvised with a milk crate tower).
Step #5
Check regularly and when it feels ready bring it down and store in a bag or wrapped in the damp sheet. This batch had been left for ten days.
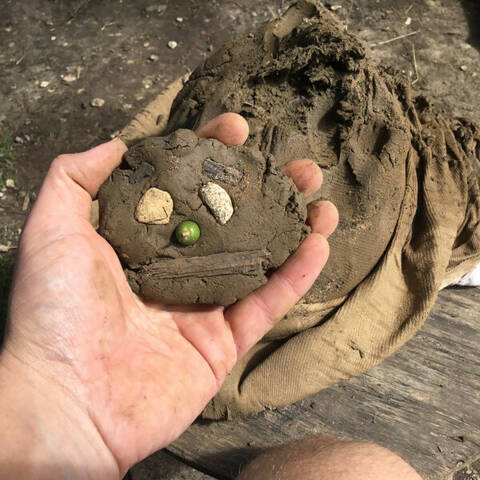
Step #6
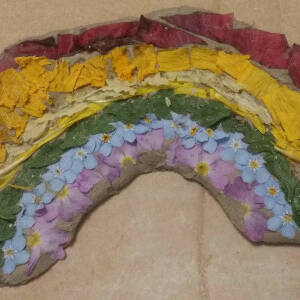
Make some wooden tools and get exploring!
Disclaimer: Muddy Faces cannot take any responsibility for accidents or damage that occurs as a result of following this activity.You are responsible for making sure the activity is conducted safely.
You might also like
Key Features
- Age Range All Ages
- Duration Less than an hour
- Location Anywhere
- Season Any
-
Categories:
What's New
Art & Creating
mud, clay & sand
Activity Downloads