Drilling conkers
An easy introduction to drilling that can result in some amazingly creative pieces of art.
Introduction
There is something really satisfying about creating a hole using a drill. Once you have created your hole there are so many things you can do with it too!
What you'll need
- conkers
- palm drill
- softwood hand drills
- conker clamp
- string
This activity has been provided by

Useful items from our shop
- Conker Clamp (Kids at Work)
- Conker Clamp - Mushroom (Kids at Work)
- Softwood Hand Drill - Set of 3 (Kids at Work)
- Palm Drills
- Sisal String
Environmental Considerations
Consider the environmental impact of preparing, carrying out & completing this activity. Could this impact be reduced? Specific considerations for this activity could include:
- consider where and how many conkers you are collecting
- many conkers can fall where they are unlikely to grow, such as paths / roads
- try to collect where there is an abundance
- we have some foraging guidelines which may help
Health & Safety Considerations
Follow your usual operating procedures and carry out appropriate risk benefit assessments.
Some considerations particular to this activity include:
- palm drill bit has sharp edges
- softwood hand drill has a sharp point
- choking hazard
Preparation:
Find a hard surface that can’t be damaged to lean on/drill into (there’s a link to our log rounds in the ‘what you’ll need’ box above, which could be used for this purpose).
Use softwood drills to make thinner holes (2mm) for use with activities like the conker person, or palm drills for holes with a bigger circumference – approx 5mm – more suitable for threading conkers with string.
A conker clamp is handy for holding your conker still, but it’s not essential. For more information about palm drills and conker clamps and how to use them look at our Guide to palm drills
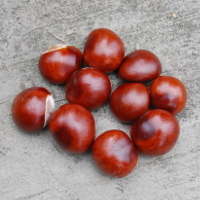
Head out on a conker hunt:
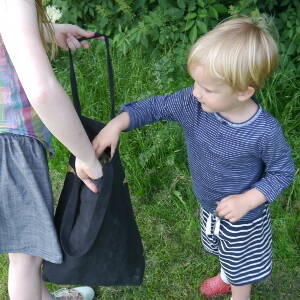
We collect conkers that have fallen onto the pavement near our house, which I know would inevitably end up being crushed in the road, so I feel happy collecting lots from the pavement.
Step #1
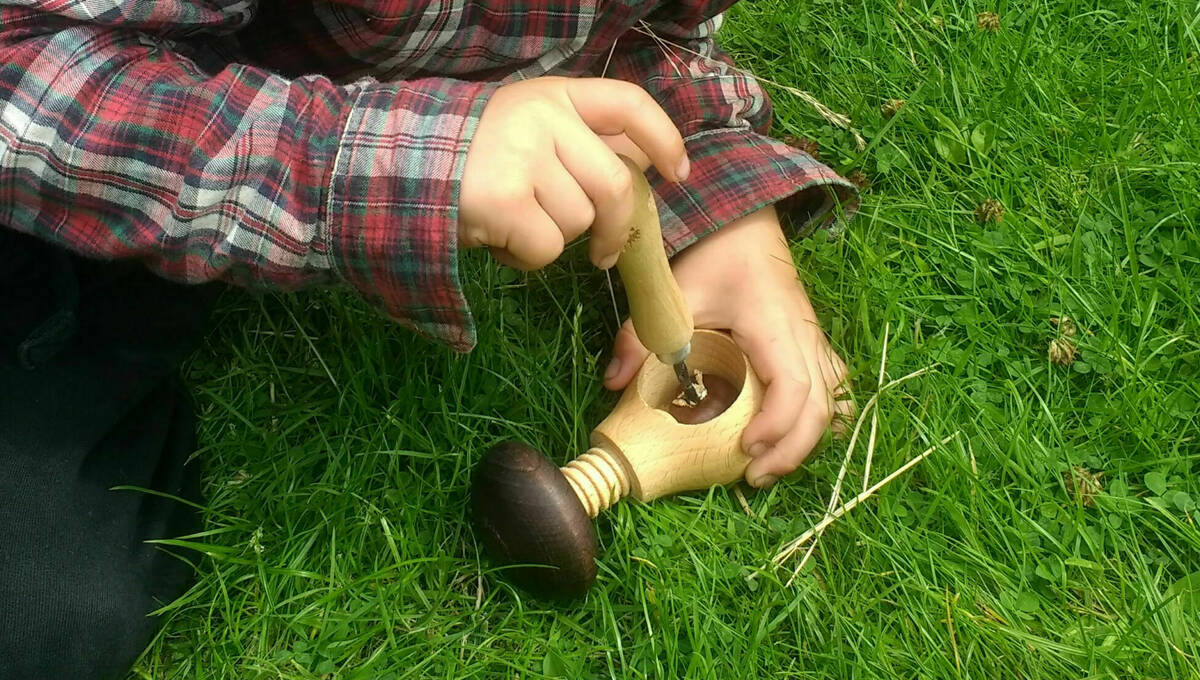
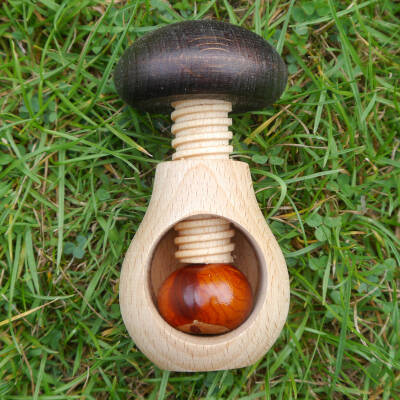
Place your conker into the conker holder or down onto a hard surface.
Step #2
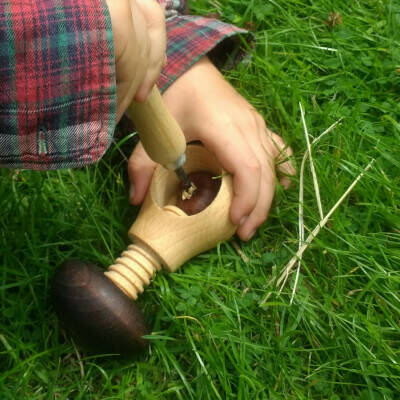
Place the drill at the top and drill directly downwards.
Step #3
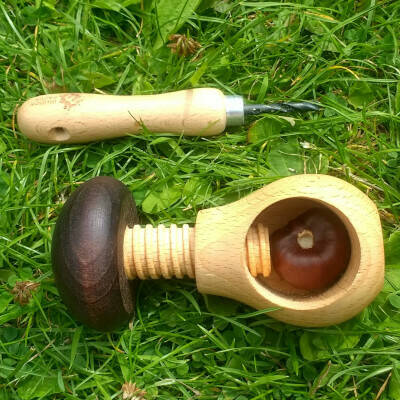
Drill straight downwards until you break right through to the opposite side.
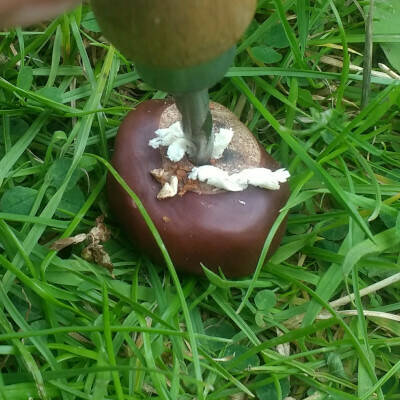
Step #4
Keep drilling until you have a nice clean hole - you may need to remove some of the debris from the hole by pulling the drill out of the conker.
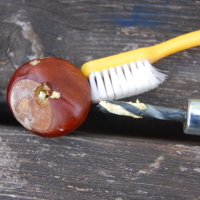
Tip:
Have a brush or pointy stick ready to clean the drill bit with - don’t be tempted to clean the bit out with your finger or you could get a cut.
Take it further:
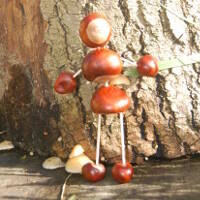
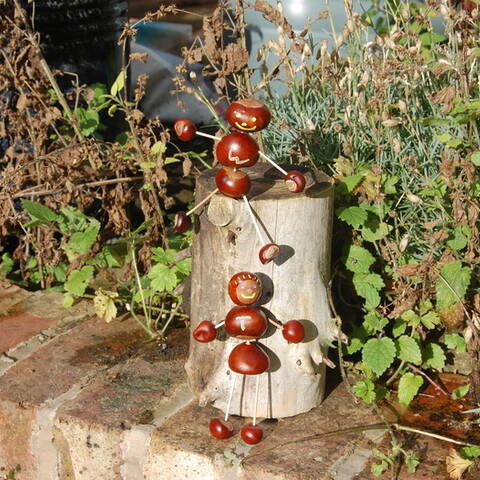
- use thin drill bits to make holes for cocktail sticks – depending where you put the holes you can make different creatures - see our conker person activity.
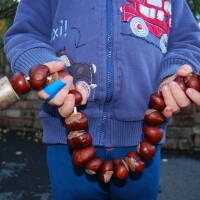
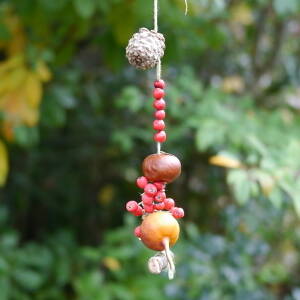
- thread drilled conkers on to a string to make a conker snake.
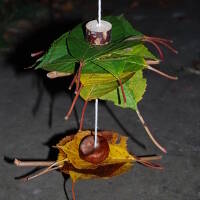
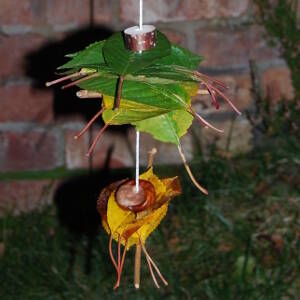
- thread conkers, leaves and other natural materials on a string to make an autumn leaf mobile.
Disclaimer: Muddy Faces cannot take any responsibility for accidents or damage that occurs as a result of following this activity.You are responsible for making sure the activity is conducted safely.
Key Features
- Age Range 3+
- Duration 1 - 2 Hours
- Location Anywhere
- Season Autumn
- Time of Day Anytime
-
Categories:
Tool use & Traditional Crafts
palm drills & rotary hand drills
